Introduction#
Setting up a local Creatio instance on Windows allows developers to safely customize, test, and debug features without relying on shared or remote environments.
This guide is designed for junior developers and beginners and focuses exclusively on a Windows-based setup using IIS and PostgreSQL. It combines manual configuration steps with script-based commands, clearly separated to make the setup easier to understand and reproduce.
By following this guide, you will install and configure all required components, including .NET, Clio, PostgreSQL, Redis, IIS, database restoration, and connection strings, resulting in a fully functional local Creatio development environment.
- Introduction
- Install .NET components
- Install Clio CLI
- Install Redis for Windows
- Install PostgreSQL & pgAdmin
- Create Application in IIS
- Restore Database Using pgAdmin
- Setting Up ConnectionStrings.config for PostgreSQL in Creatio
- Compile & Test
- Conclusion
Install .NET components#
Download 64-bit .NET 8 SDK#
To download and install the 64-bit .NET 8 SDK, follow these steps:
- Step 1: Download the Installer
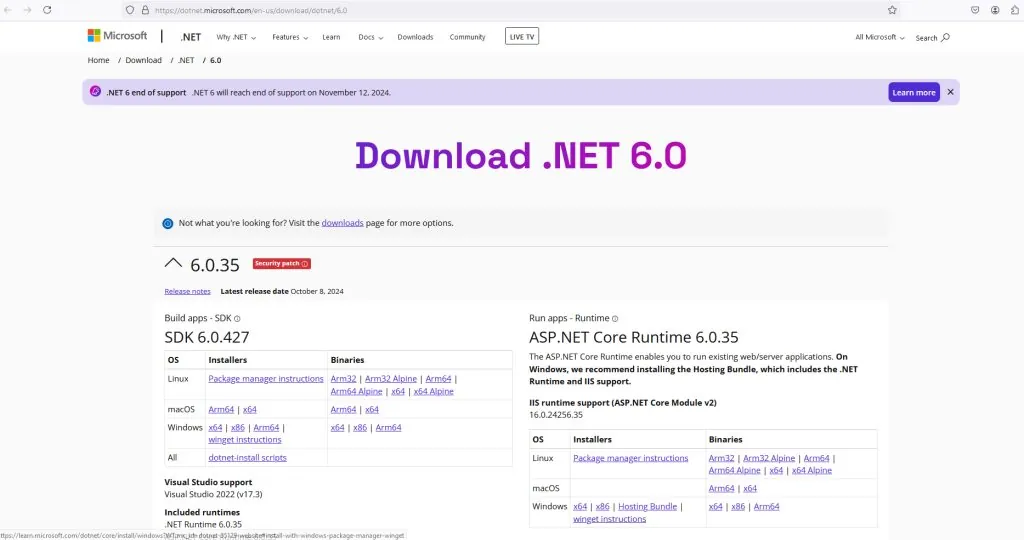
Under the “.NET 8.0 SDK” section, find the download link for your operating system.
Select the appropriate installer for your system:
For Windows, choose the x64 installer (required for Creatio + IIS).
For macOS, select the 64-bit version (macOS x64 or Apple Silicon if you have an M1 or M2 Mac).
For Linux, select the appropriate distribution and architecture.
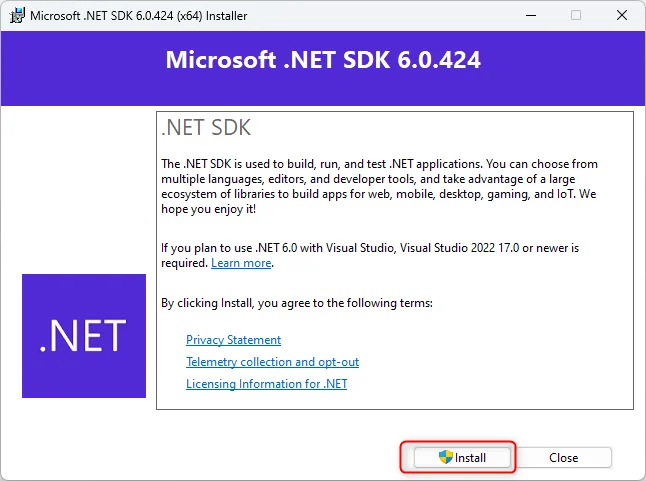
Step 2: Run the Installer:
After downloading the installer, follow these steps based on your operating system:
Open the downloaded installer file (dotnet-sdk-8.x.x-win-x64.exe).

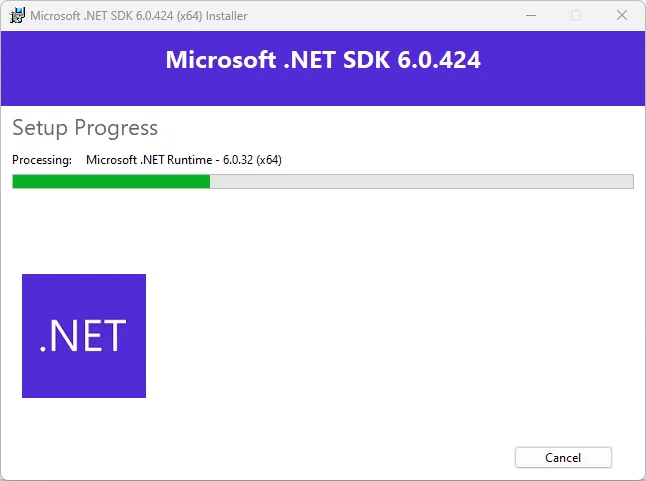
Follow the on-screen instructions to install the SDK.
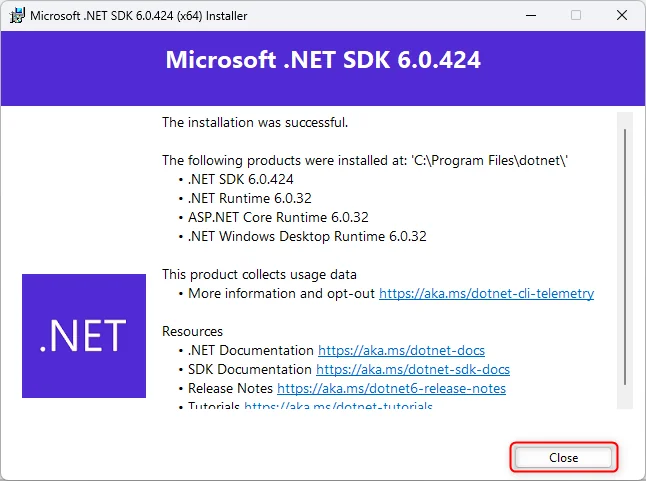
- Step 3: Verify Installation:
Open Command Prompt or PowerShell and run:
dotnet --version
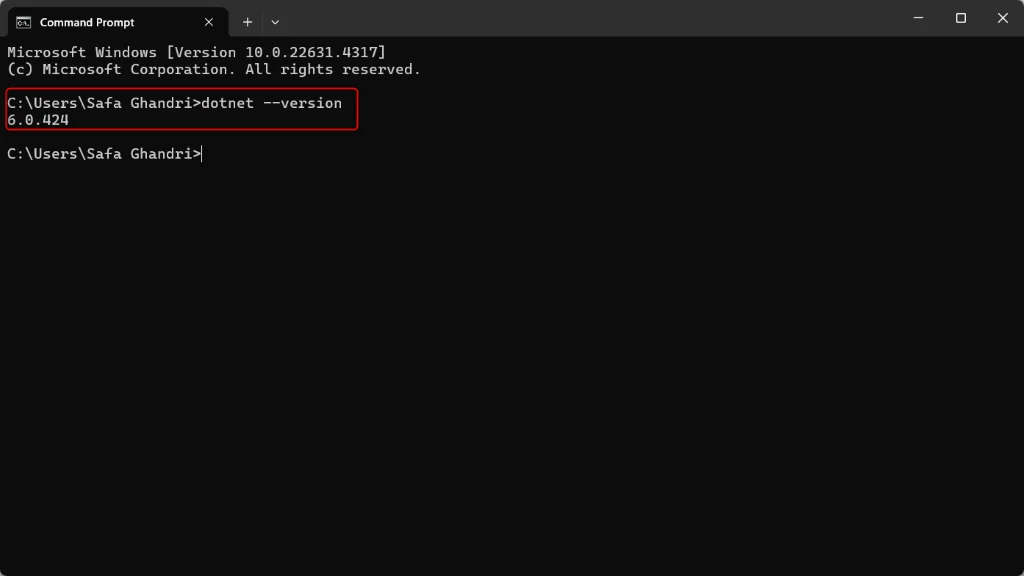
You should see the installed version of .NET 8.
Download .NET Framework 4.7.2 Developer Pack (64-bit)#
To download and install the .NET Framework 4.7.2 Developer Pack (64-bit), follow these steps:
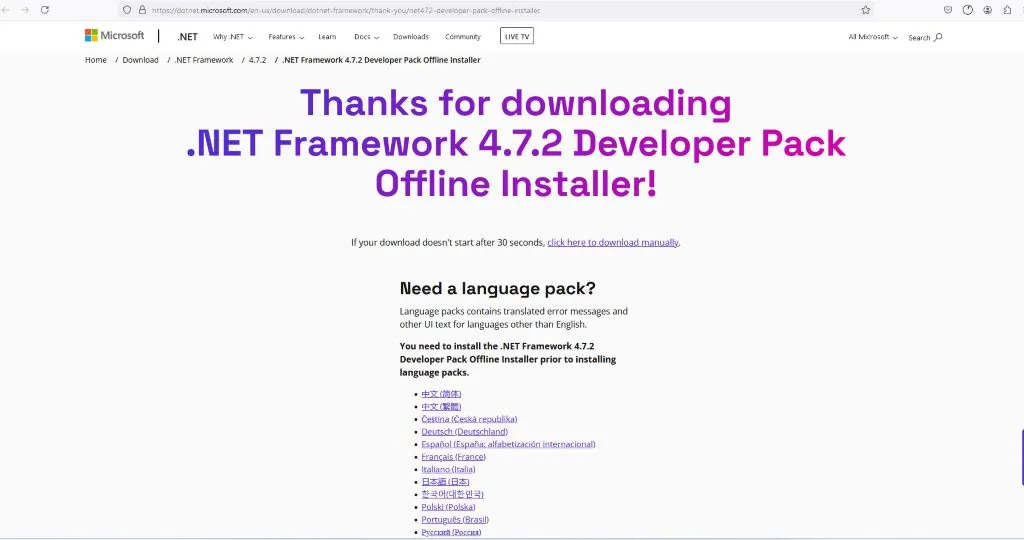
1. Download the SDK
Download the .NET Framework 4.7.2 Developer Pack (64-bit) (this includes the runtime, targeting pack, and related resources).
2. Install the SDK
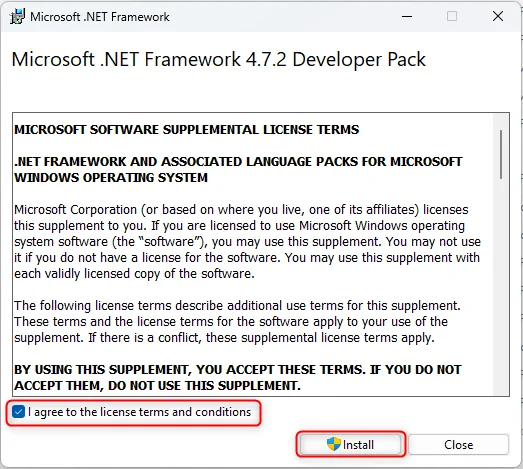
- Locate the downloaded installer (usually in your Downloads folder).

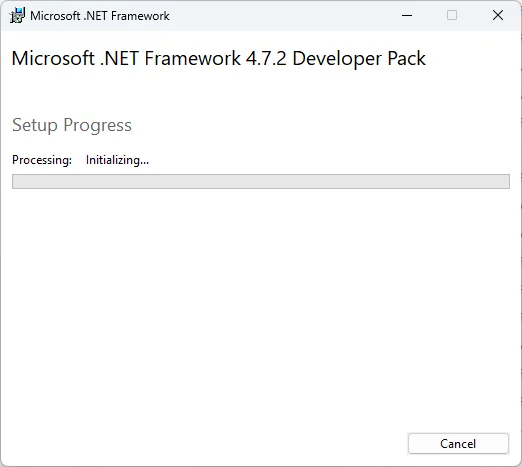
Double-click the installer to start the installation.
Follow the prompts to complete the installation.
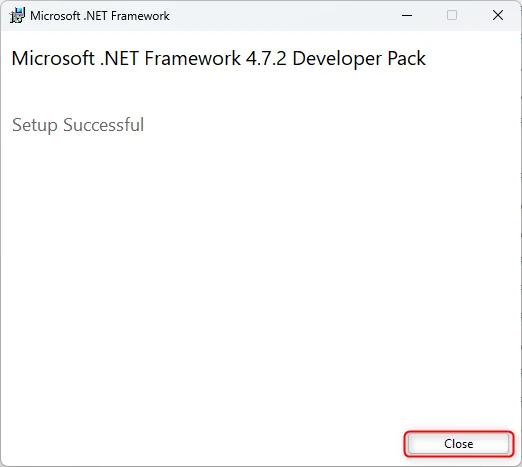
3. Verify the Installation
- Open the Command Prompt and type:
reg query "HKLM\SOFTWARE\Microsoft\NET Framework Setup\NDP\v4\Full" /v Version
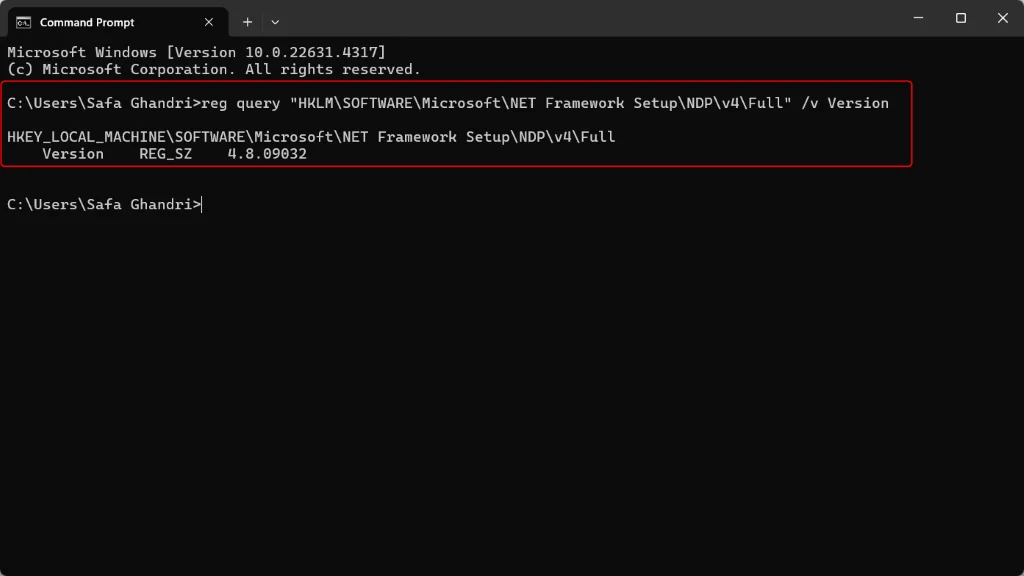
Once installed, you’ll be able to use the .NET Framework 4.7.2 SDK in Visual Studio or any other compatible development environment.
Install Clio#
Clio is a command-line tool related to .NET for managing various aspects of your environment. Since Clio is a .NET tool, you can install it globally using the .NET CLI, which will allow you to run it from anywhere in your terminal or command prompt.
To install and manage the Clio CLI tool using the .NET CLI:
dotnet tool install clio#
To install the Clio CLI tool using the .NET CLI, you can run the following command in your terminal or command prompt:
dotnet tool install --global clio
Steps to Follow:
- Open your terminal or command prompt.
Run the command above. This will install the Clio tool globally, allowing you to use it from any directory.
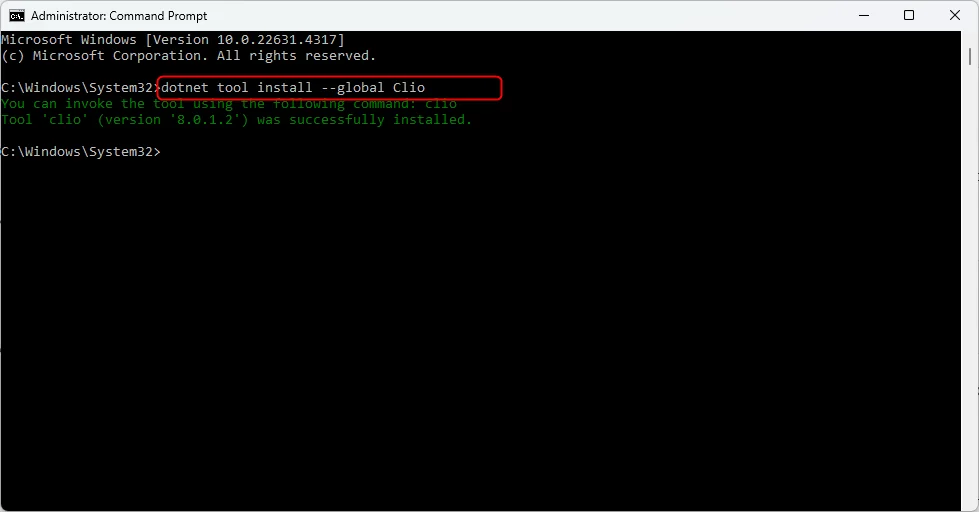
- Verify the installation by running:
clio --version
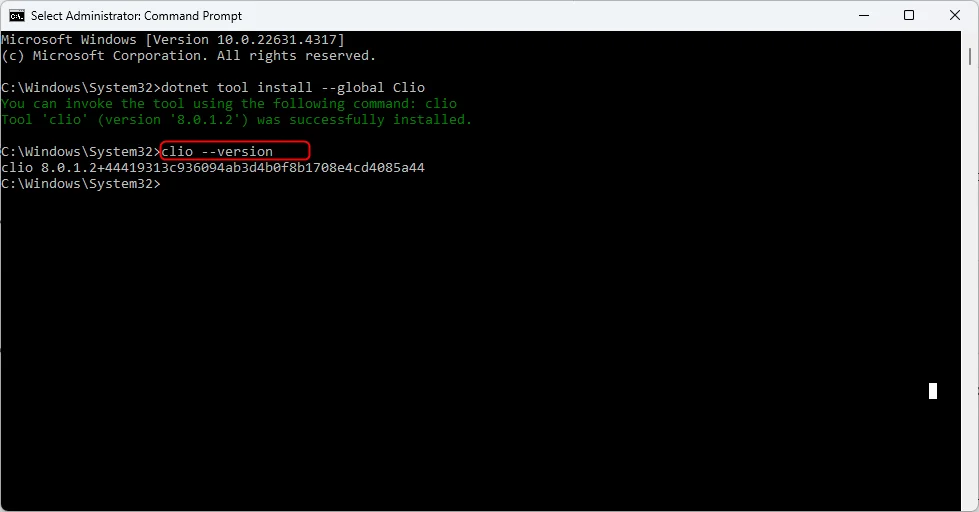
This should display the version of Clio that you’ve installed, confirming that the installation was successful.
Notes:
Make sure you have the .NET SDK installed on your machine. You can check if it is installed by running dotnet –version.
If you encounter permission issues, you might need to run the command as an administrator or use sudo on Unix-based systems.
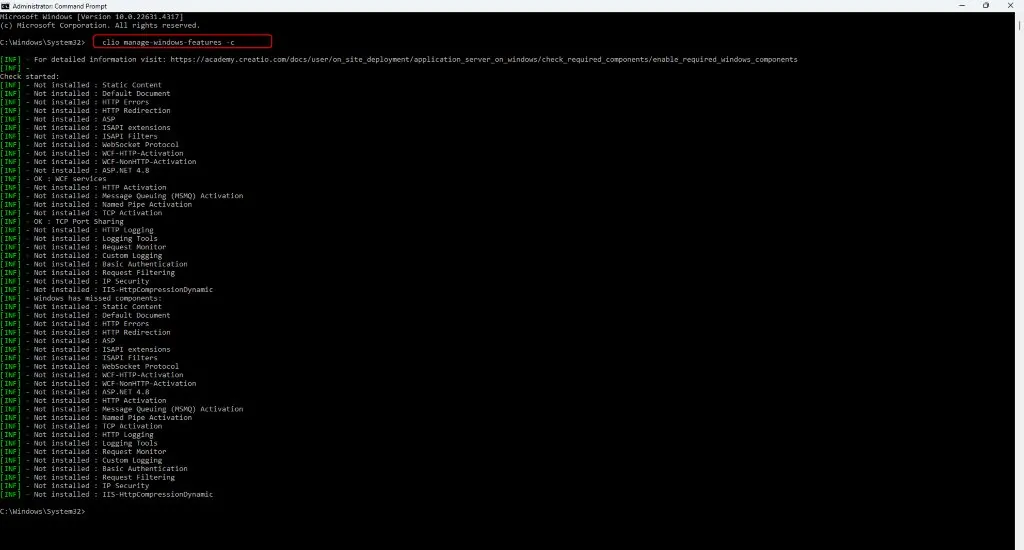
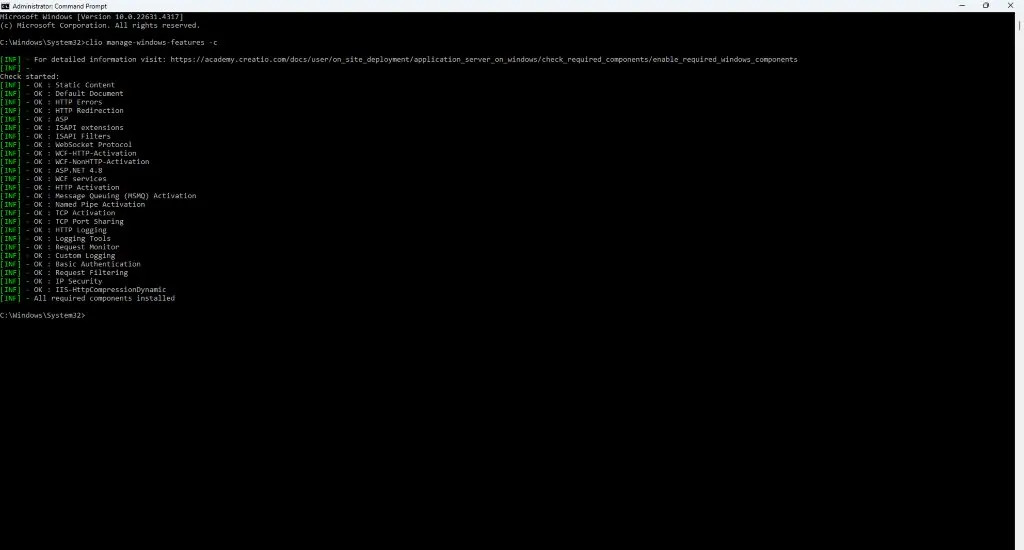
clio manage-windows-features -c#
To check Windows features in Creatio , you can use the following command in the command line interface (CLI):
clio manage-windows-features -c
cliorefers to the command-line interface used to interact with Creatio.manage-windows-featuresis the command to interact with Windows features in Creatio.–c(typically stands for “check”) instructs the system to check or display the current configuration or status of the Windows features.
clio manage-windows-features -i#
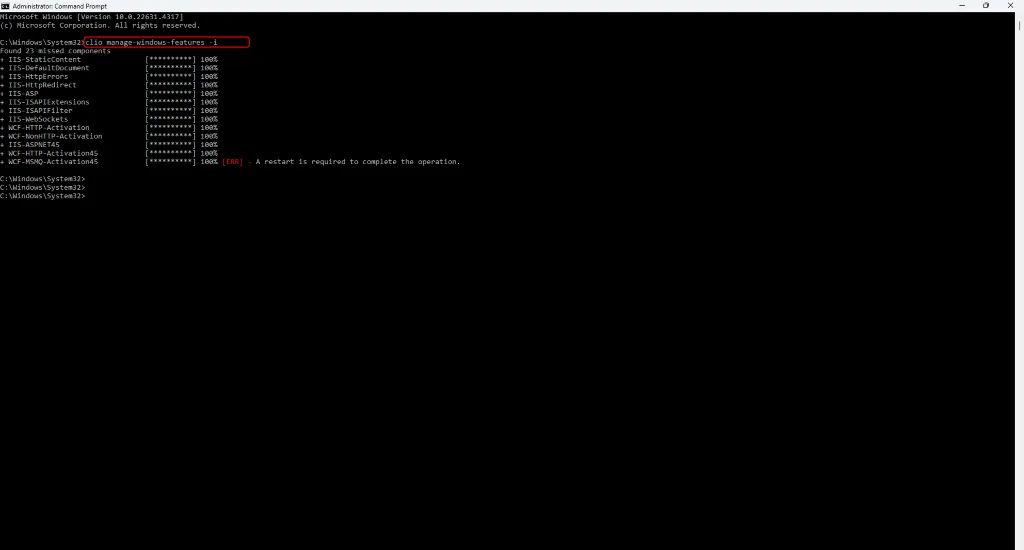
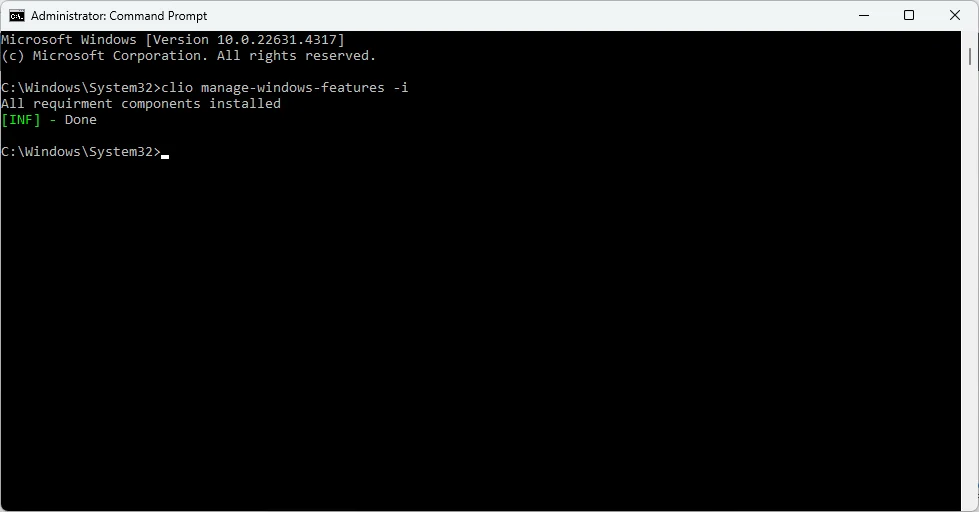
To install windows features : Run the command
clio manage-windows-features -i
This enables:
- IIS
- ASP.NET
- WebSockets
- HTTP Activation
- Static Content
which is critical for Creatio,restart your machine after completion.
Install Redis for Windows#
This paragraph covers deploying Redis caching server on Windows operating systems.
We recommend deploying Redis on Linux operating systems for production environments.
Redis is required for Creatio’s caching layer. The classic MicrosoftArchive/redis Windows port has been archived since 2016 and is no longer maintained.
For local Windows development we recommend Memurai, a free Redis-compatible Windows binary maintained by Janea Systems. The Developer edition is free for development use and installs as a Windows service the same way the legacy Redis port did. Production deployments should run Redis on Linux (or WSL2) per Redis’s own guidance.
Download the latest Memurai installer from the
official downloads page.
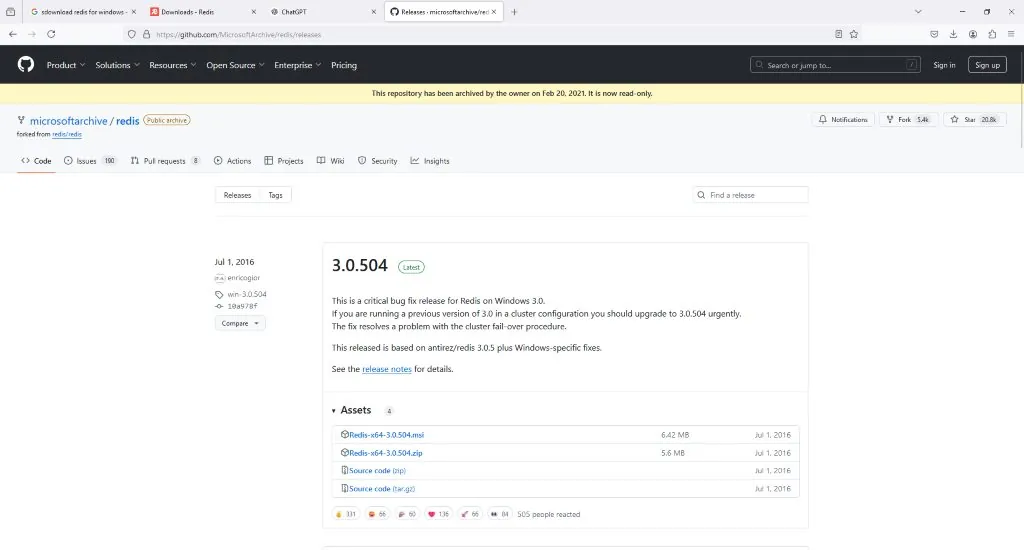
Run the redis-server.exe file.

During the installation, a number of commands will be run sequentially. After the completion of each command, click [Next] and wait for the process to complete.
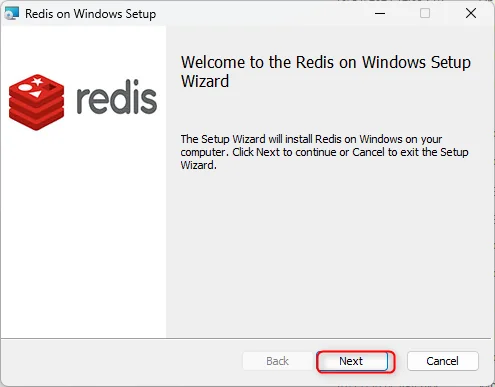
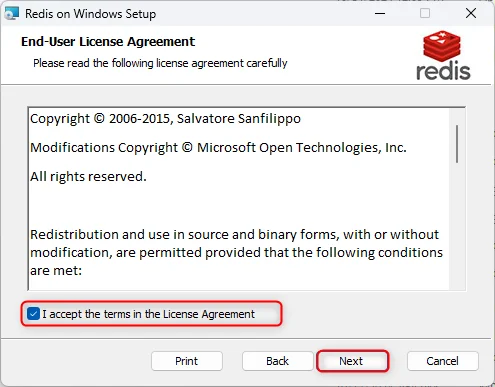
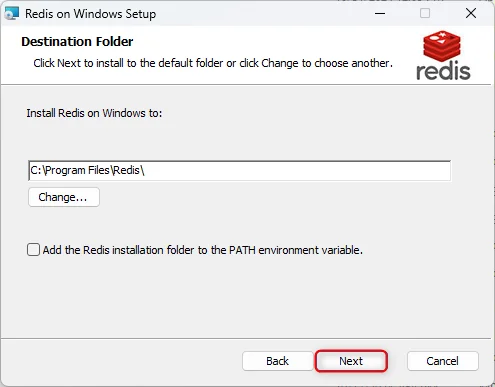
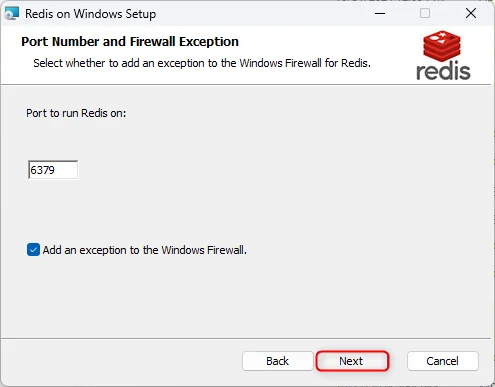
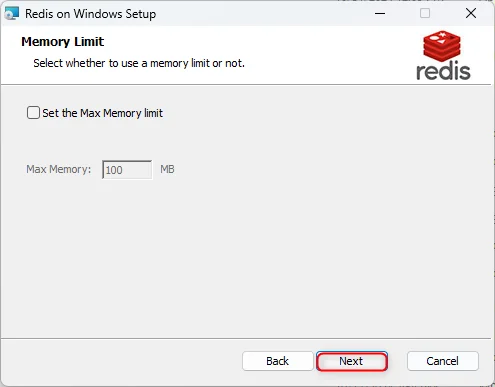
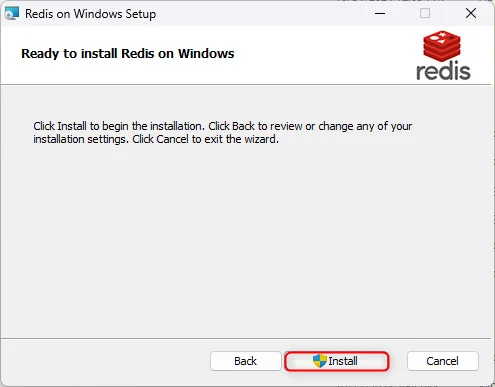
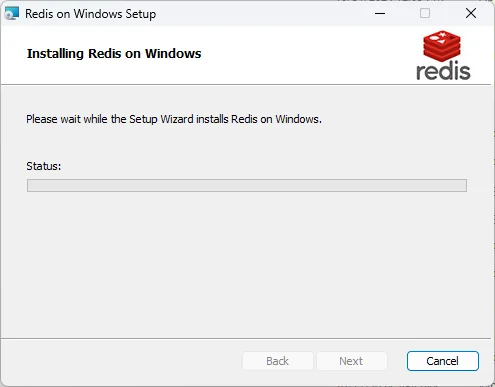
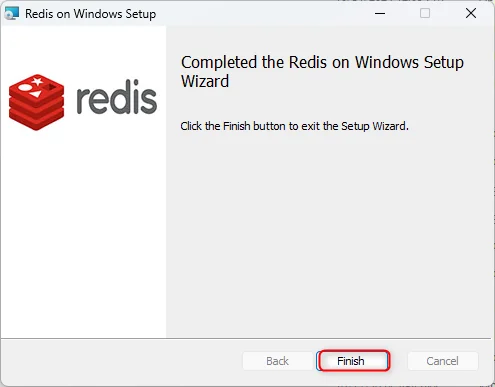
Start the Redis Server after the installation. Either Verify Redis is running via Powershell by running this command :
Get-Service | Where-Object {$_.Name -like "*redis*"}
Or this follow these steps to do it manually :
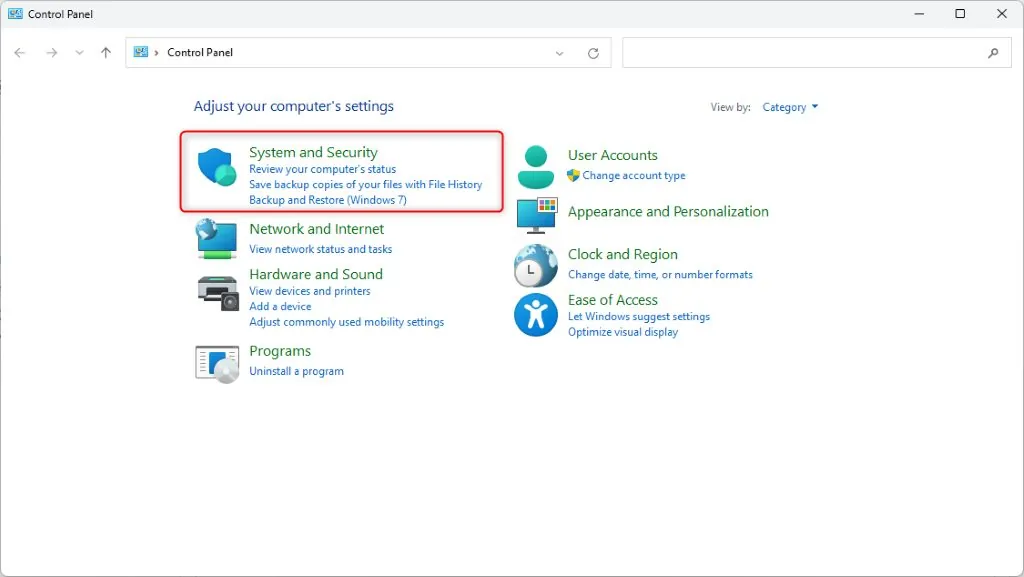
- Go to Control Panel and select System and Security.
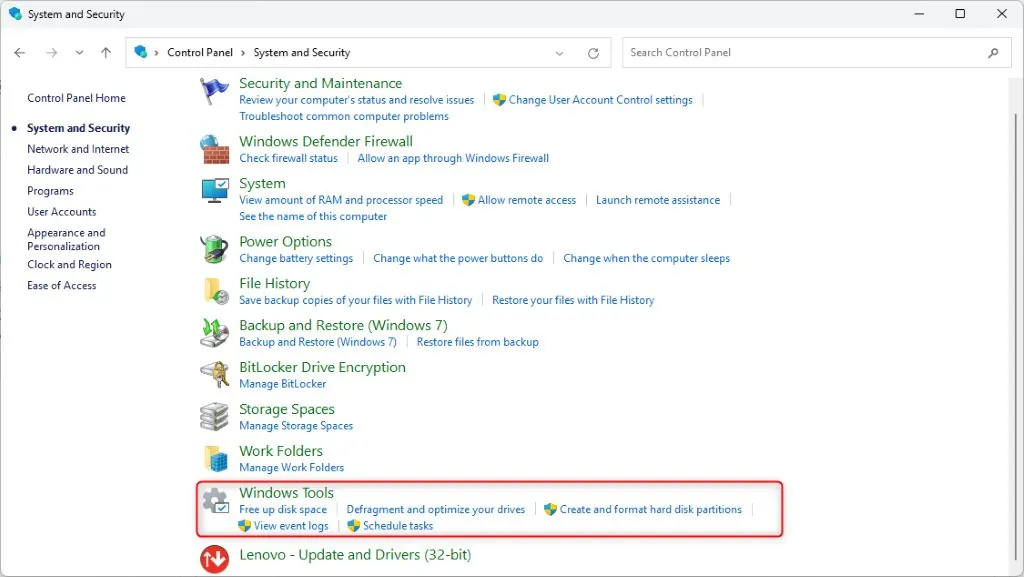
- Open Windows Tools.
- Go to Services.
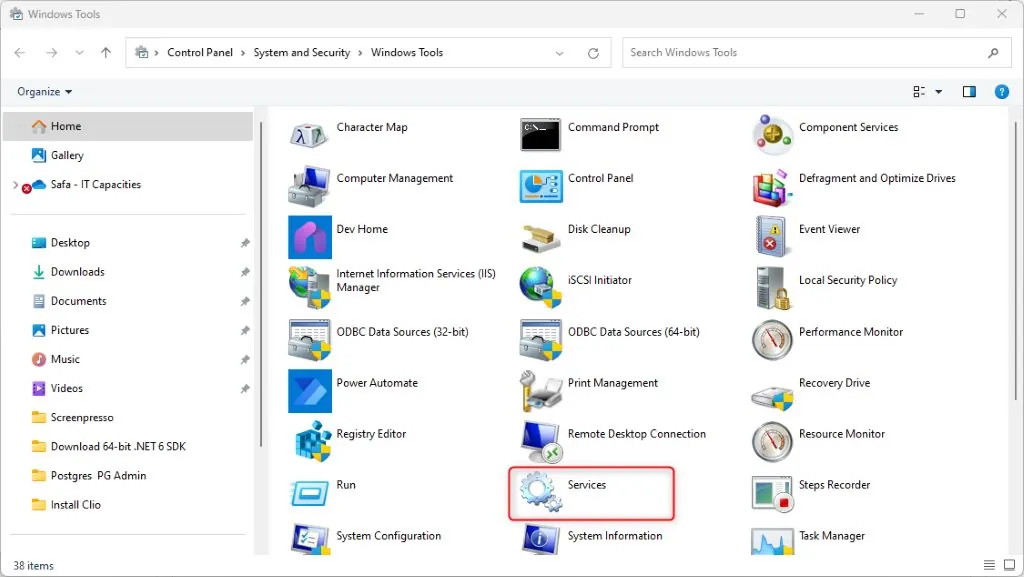
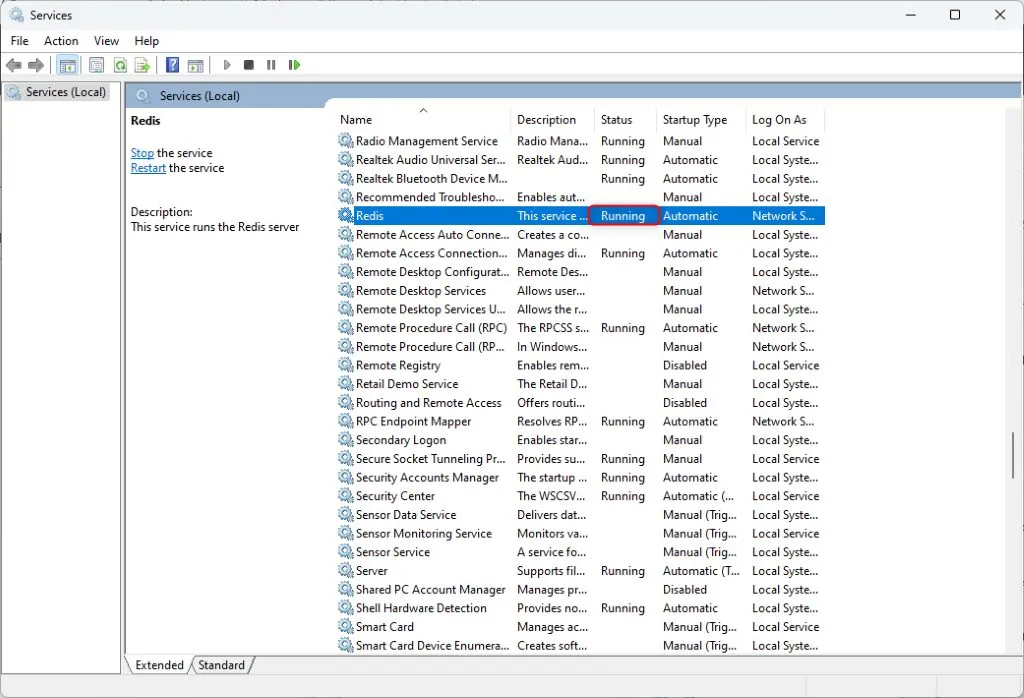
- Find and start the Redis service.
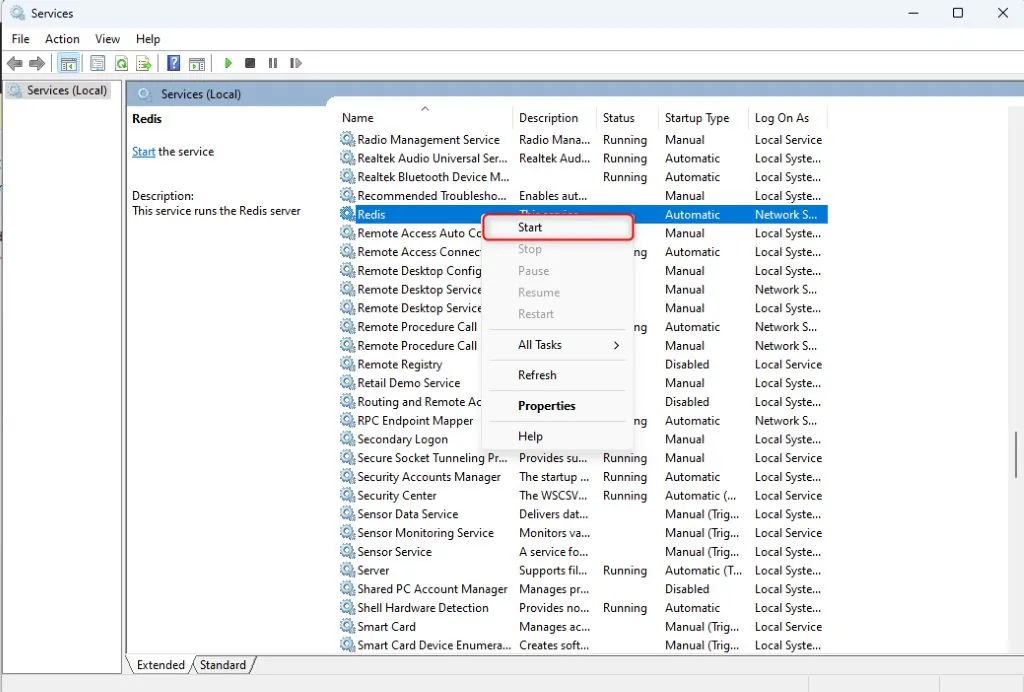
- Redis is Now running
Install Postgres / PG Admin#
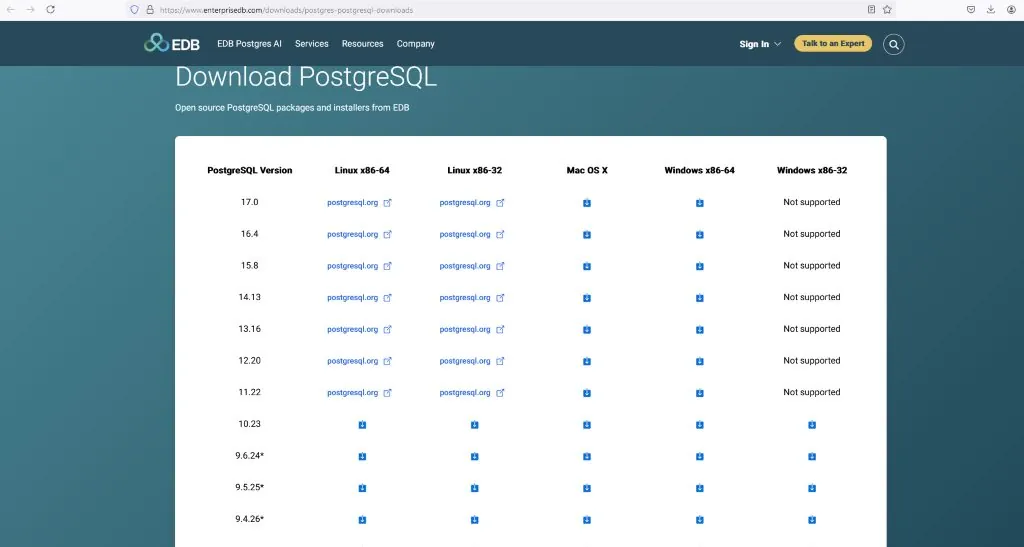
To install PostgreSQL locally on your computer, visit the official PostgreSQL installer by EDB , and download the newest version compatible with your operating system.
- Download the Installer:
Go to the PostgreSQL official download page by EDB .
Select the latest version for Windows and click Download to get the installer.
- Run the Installer:
Locate the downloaded installer file (it will have a .exe extension).
Double-click to start the installation process.

- Follow the Setup Wizard:
- When the downloading is complete, double click the downloaded file and start the installation:
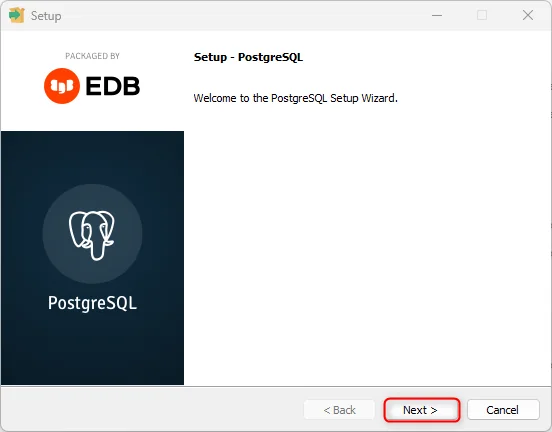
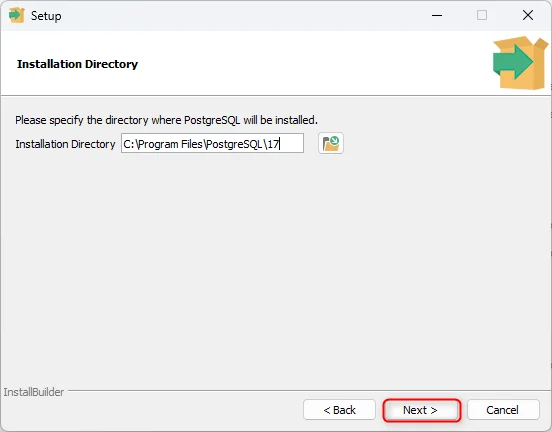
- Choose your preferred installation directory or go with the default.
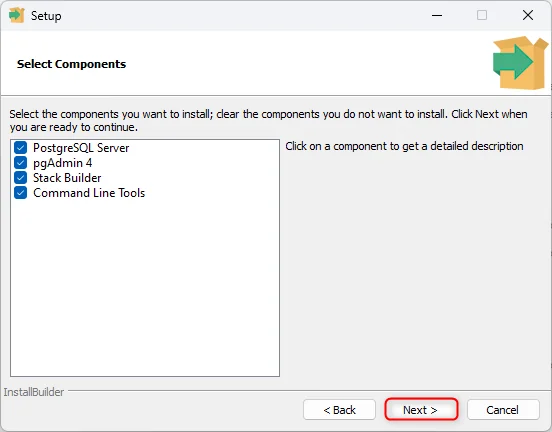
- Select the components you want to install. By default, PostgreSQL, pgAdmin (the graphical interface), and command-line tools are selected.
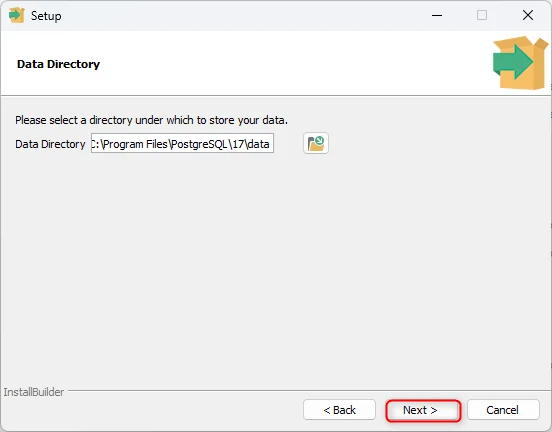
- Choose a data directory (where PostgreSQL will store its data).
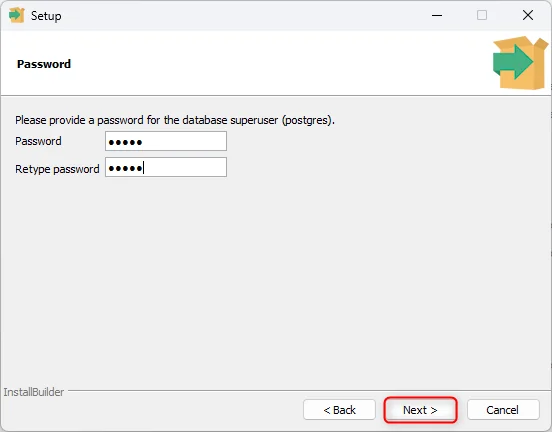
- Set a password for the default PostgreSQL user (usually named postgres). Remember this password, as you’ll need it later.
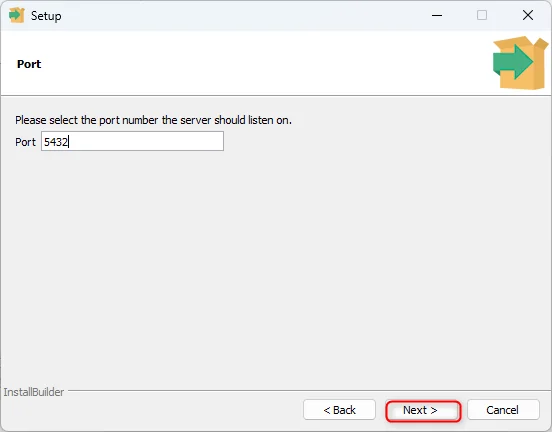
- Set the port for PostgreSQL (5432 is the default).
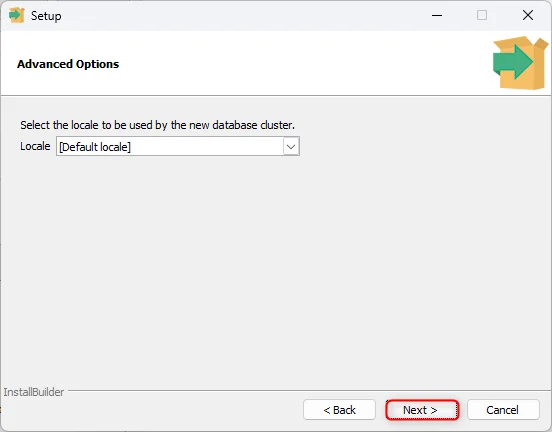
- Select the geographically location of the database server:
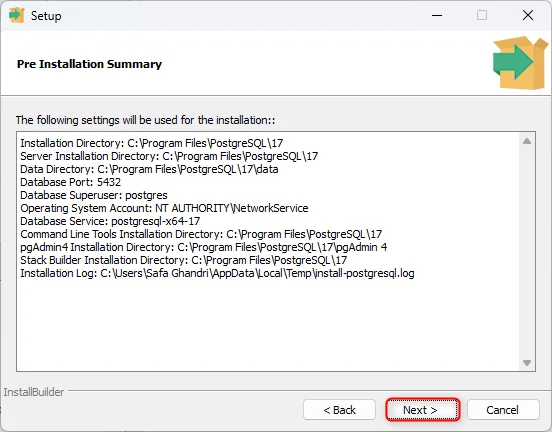
- Final Check , If everything looks OK, click ‘Next’ to continue:
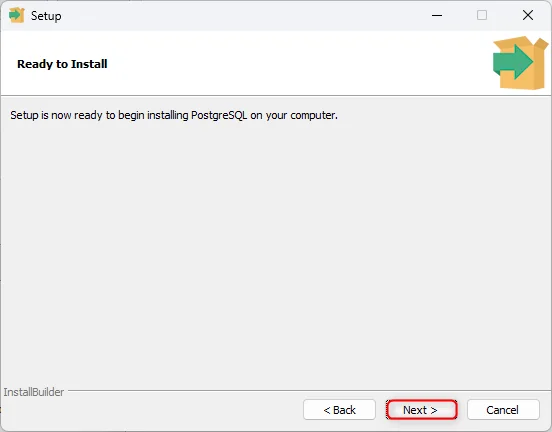
- Click ‘Next’ to start the installation
- Installing , This can take a while, please wait.
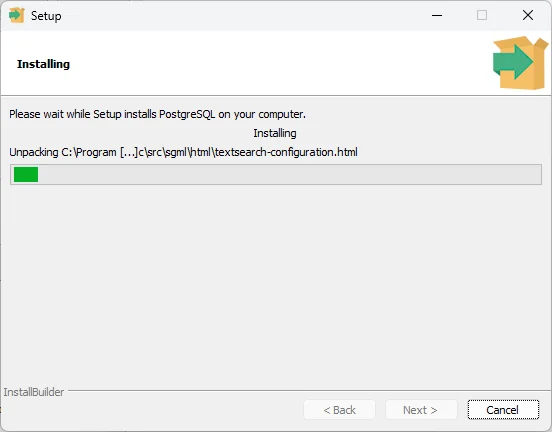
- Now you have installed PostgreSQL on your computer, and in the next chapter you will start using it!
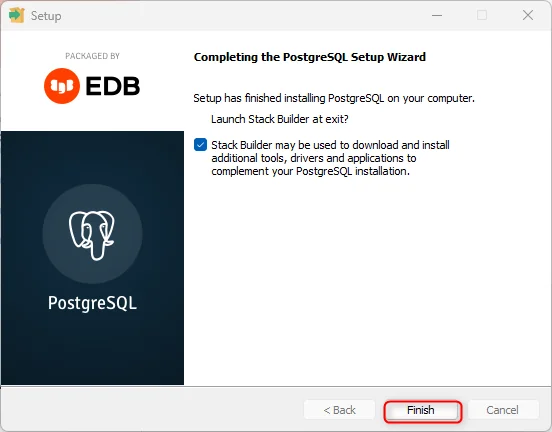
- Complete Installation:
- After the installation finishes, you can launch pgAdmin or use psql (PostgreSQL’s command-line interface) to interact with your database.
To start pgAdmin 4 and connect to your PostgreSQL database, follow these steps:
- Open pgAdmin 4: Go to the Start Menu, look for PostgreSQL in your applications, and select pgAdmin 4.
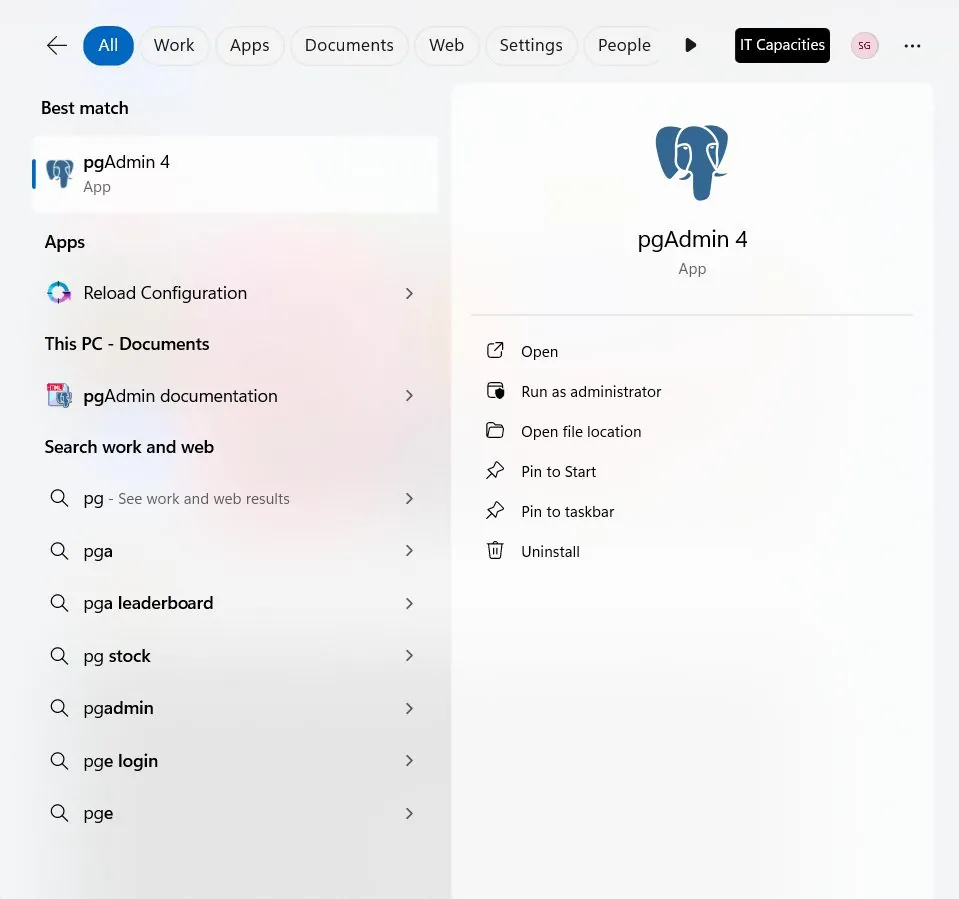
- Set up a Master Password (if prompted): The first time you open pgAdmin 4, it may ask you to set a master password. Choose a secure password and remember it, as you’ll need it to access your databases.
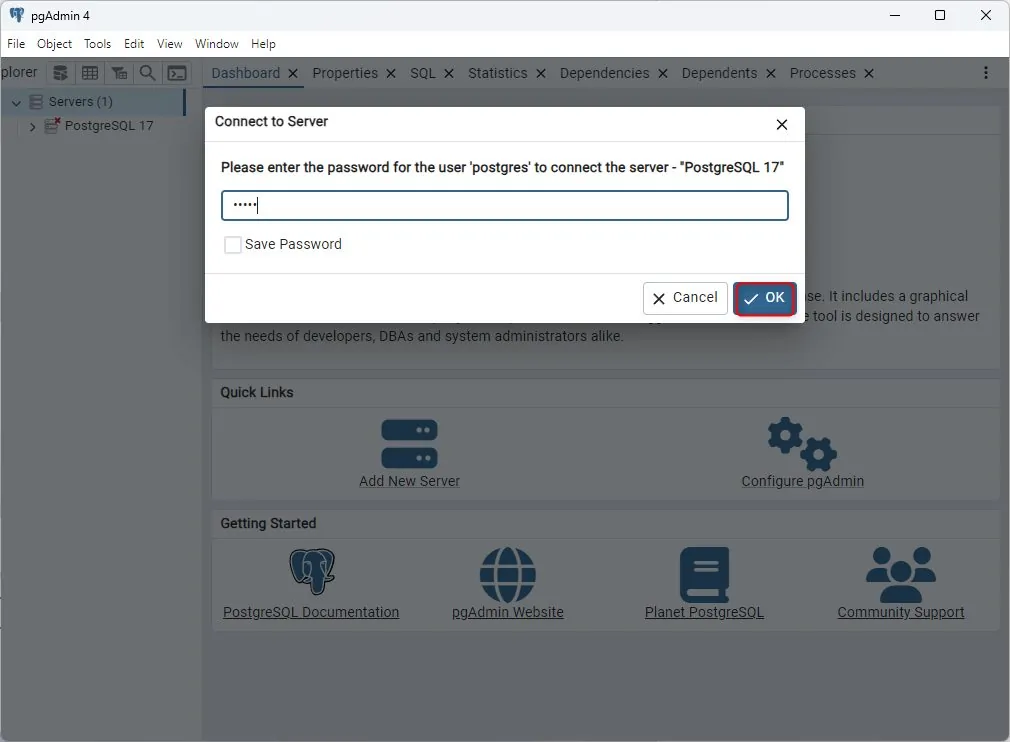
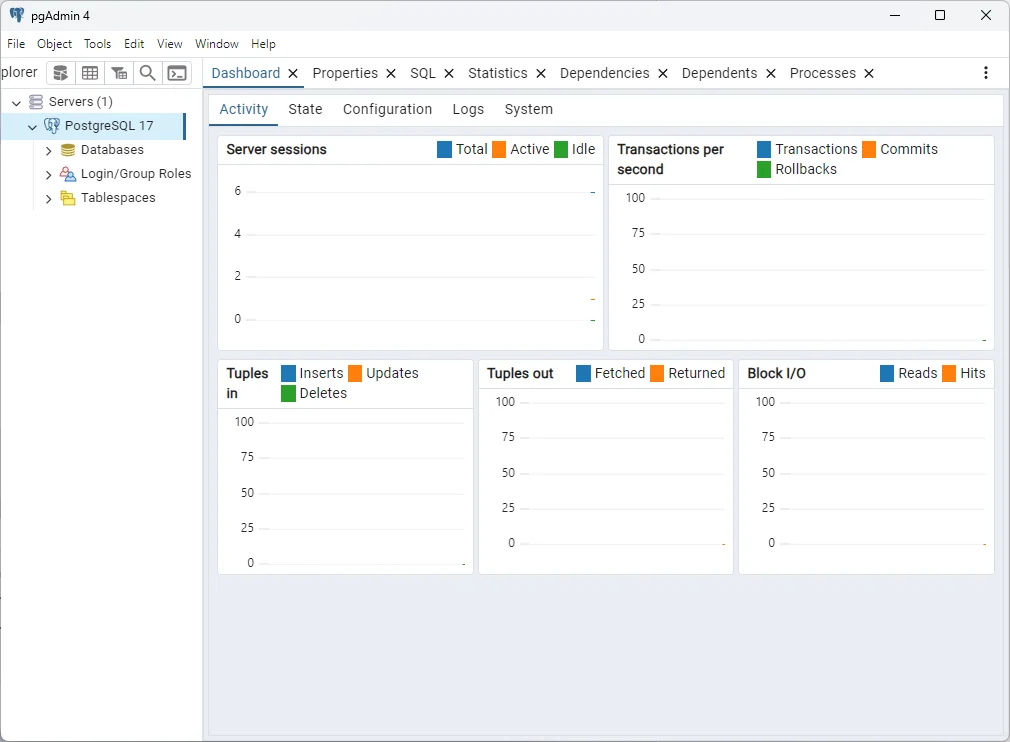
- Connect to the Database Server:
Once pgAdmin 4 is open, find the Servers section in the left pane.
Create Application in IIS#
This section sets up the Creatio application server on Internet Information Services (IIS): create the website, create its application pool, then apply the settings Creatio needs (authentication, handler mappings, MIME types). The manual steps come first; PowerShell and appcmd commands that script the same setup follow.
Manual Steps#
1. Set Up the Application Website in IIS
To create and configure a website on IIS, follow these steps:
Step 1: Open IIS Manager
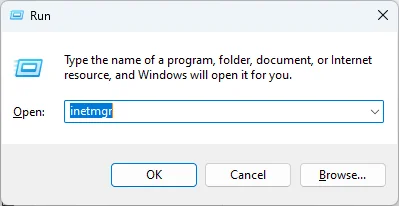
- Press Win + R, type
inetmgr, and press Enter to open IIS Manager.
Step 2: Add a Website
- In IIS Manager, right-click on the Sites folder in the Connections panel and select Add Website.
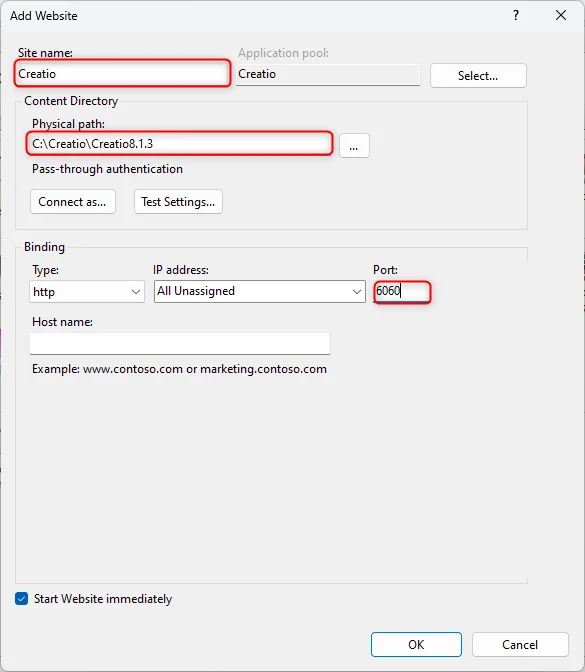
- In the Add Website window:
Enter a name for the website (e.g., “Creatio”).
Set the Physical Path to the folder containing the Creatio files (e.g., C:\Creatio\CreatioApp).
Choose the IP address and port number for the website (the default IP address can be “All Unassigned” and port can be specified as per the need, for example,
http://localhost:6262).
- Click OK to create the website.
Step 3: Add an Application to the Website
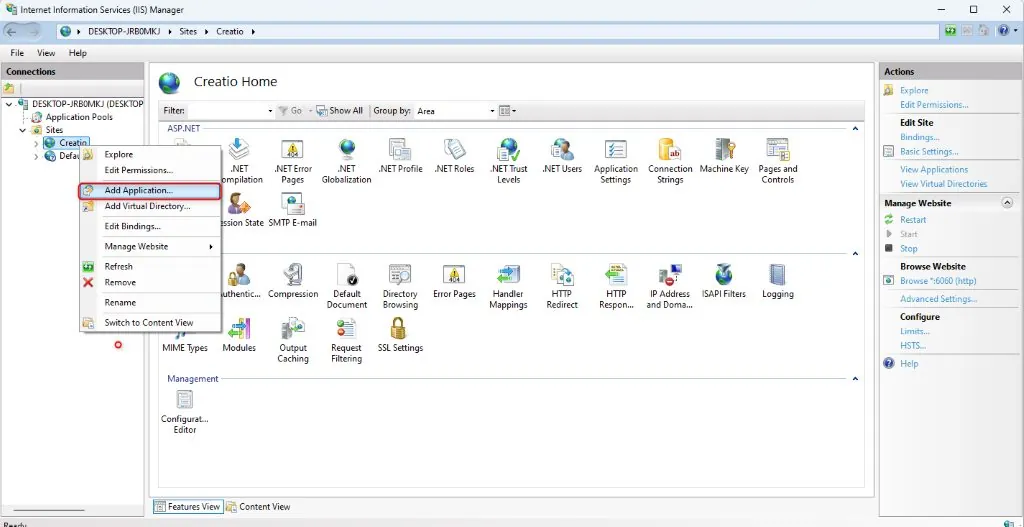
- Right-click the newly created website (e.g., “Creatio”) in the Connections panel and select Add Application.
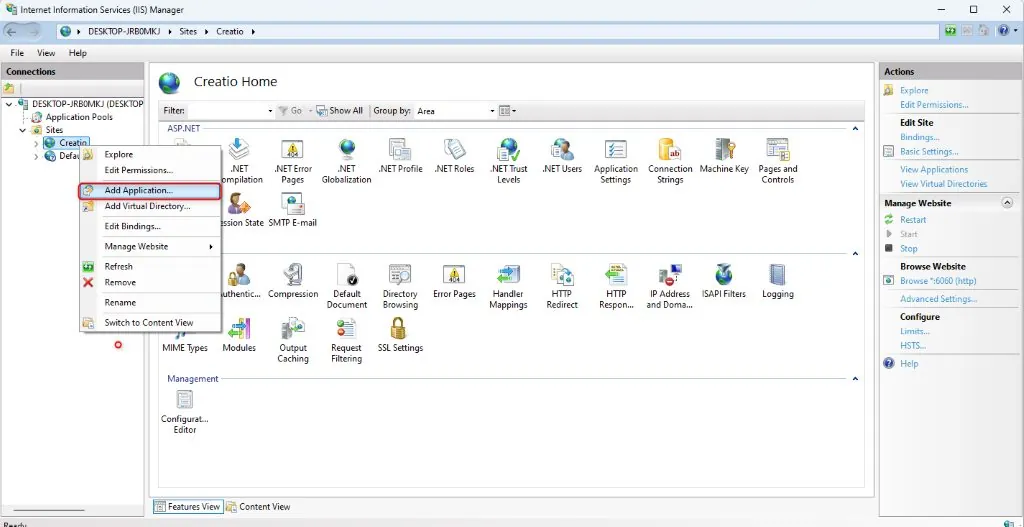
- In the Add Application window:
Set the Alias field to 0.
Set the Physical Path to the Terrasoft.WebApp directory (e.g., C:\Creatio\CreatioApp\Terrasoft.WebApp).
Assign the application to the Creatio application pool.
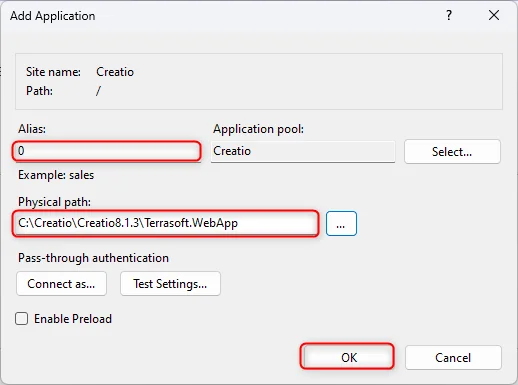
- Click OK to add the application.
2.Add an Application Pool
Step 1: Create an Application Pool
To add an application pool:
Go to the Application Pools section in the Connections area of the IIS control window.
Select the Creatio pool.
Select the Integrated mode in the Managed pipeline mode field.
Fill out the .NET CLR version field:
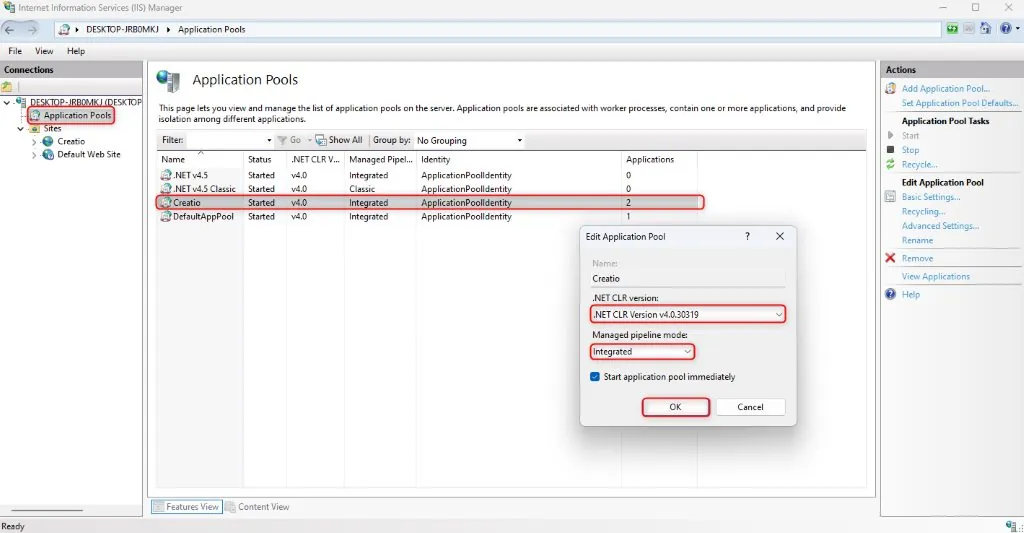
Specify “.NET CLR Version v.4.0.30319” for .NET Framework.
Specify “No Managed Code” for .NET 8.
Step 2: Configure ISAPI and CGI Restrictions
- Go to ISAPI and CGI Restrictions in IIS Manager.
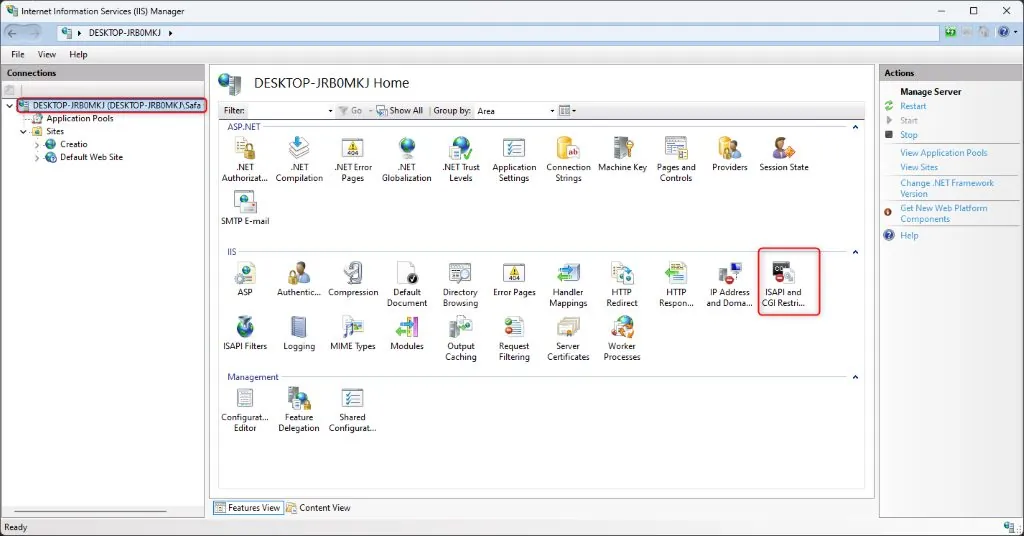
- Ensure that the specified version of ASP.NET is allowed, with an Allowed status for the specified ASP.NET version.
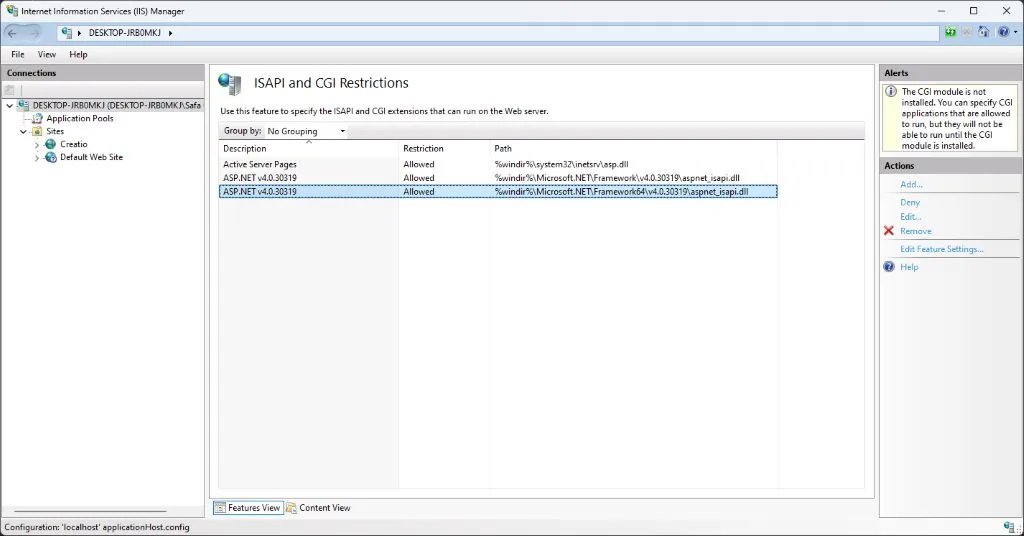
Step 3 Make sure that all the required permissions are active. To do this:
- Open the Handler Mappings on the server level and make sure that all the required permissions are active
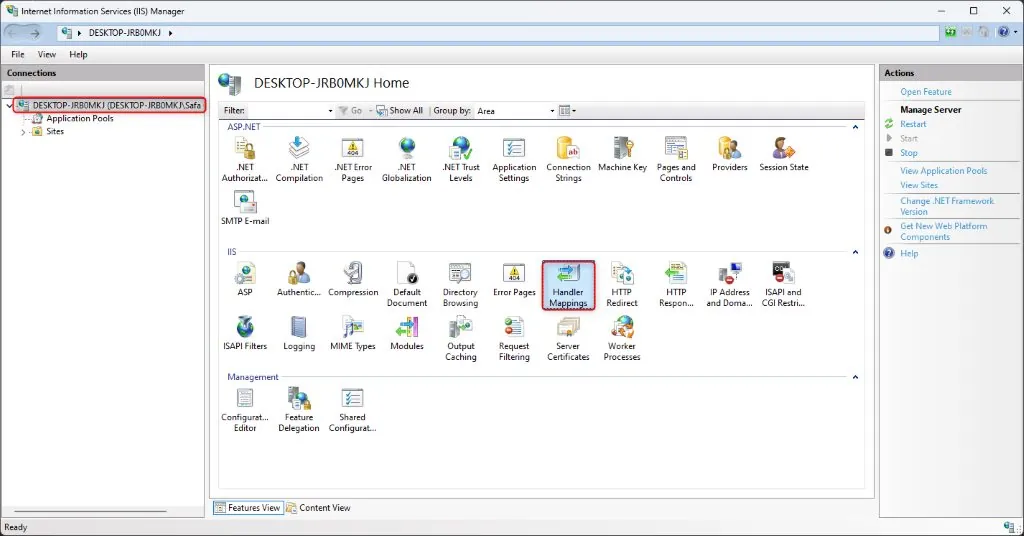
- Click Edit Feature Permissions in the Actions area.
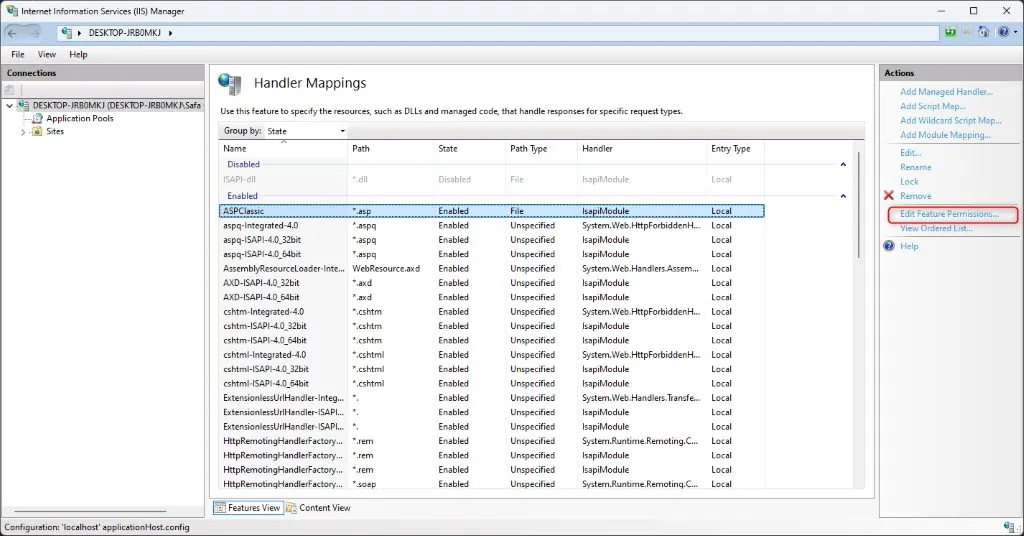
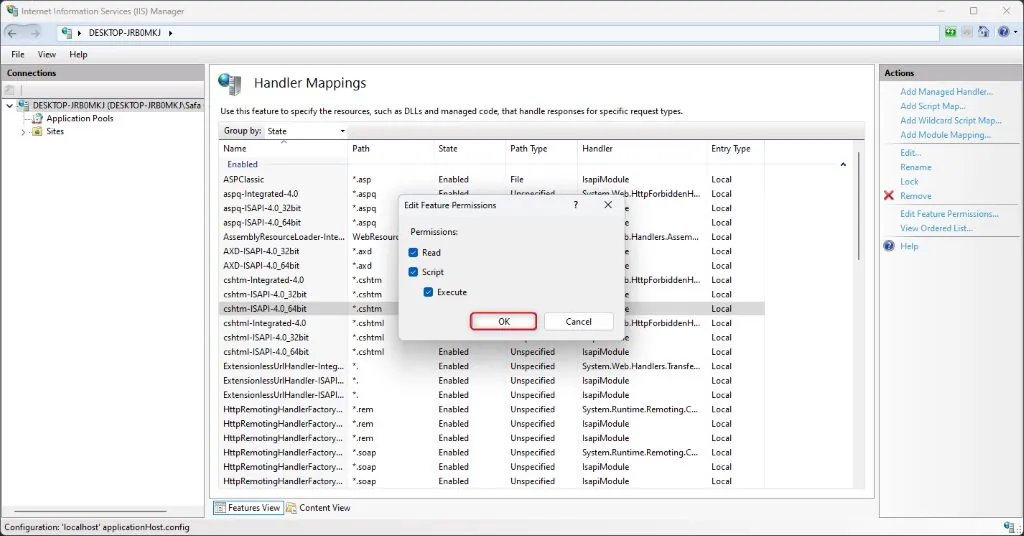
- Make sure that all the required checkboxes are selected in the Edit Feature Permissions window
3. Configure MIME Types
For proper handling of file types like .svg and .json, you need to ensure the MIME types are configured correctly.
Step 1: Verify MIME Types
- In IIS Manager, go to MIME Types at the server or application level.
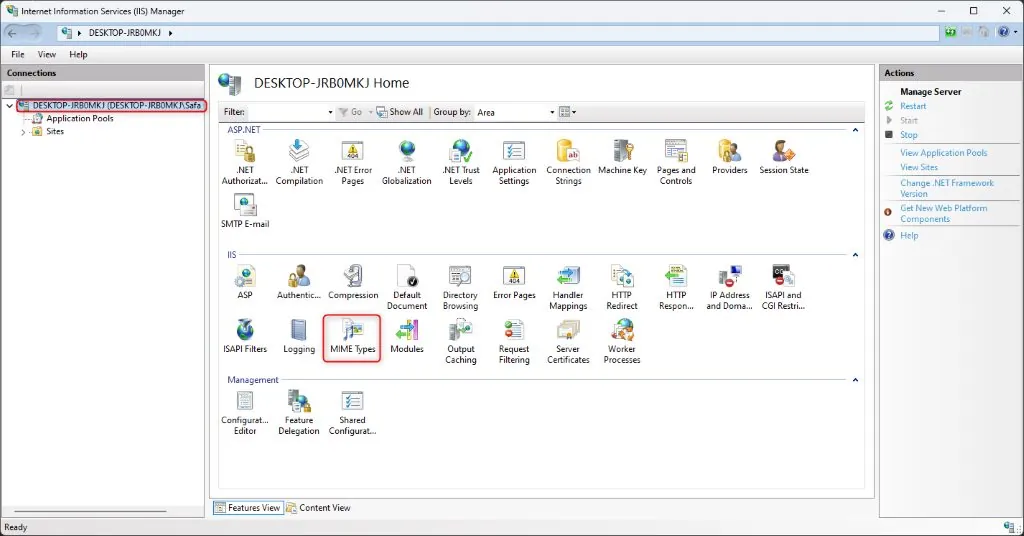
- Check if .svg and .json MIME types are listed:
.svg → MIME type: image/svg+xml
.json → MIME type: application/json
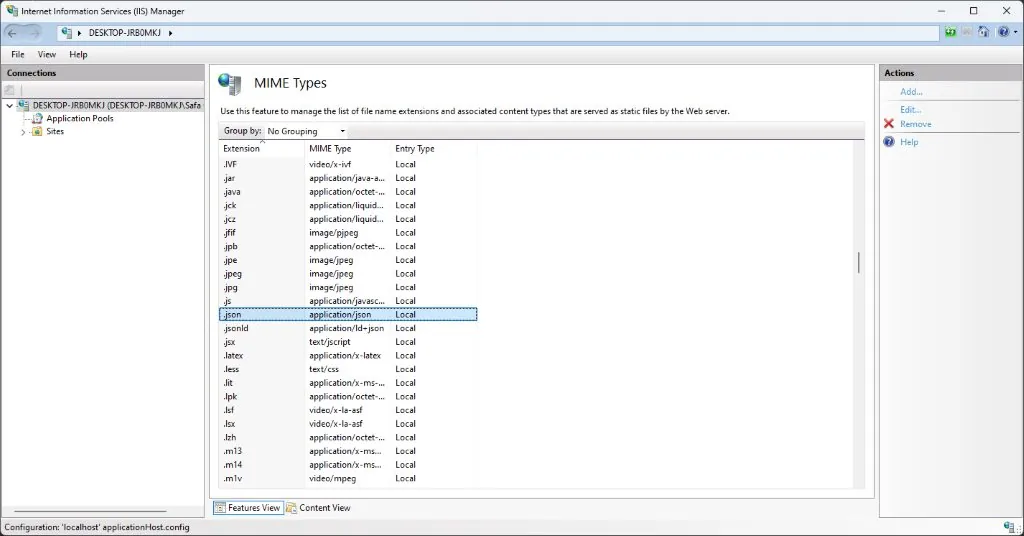
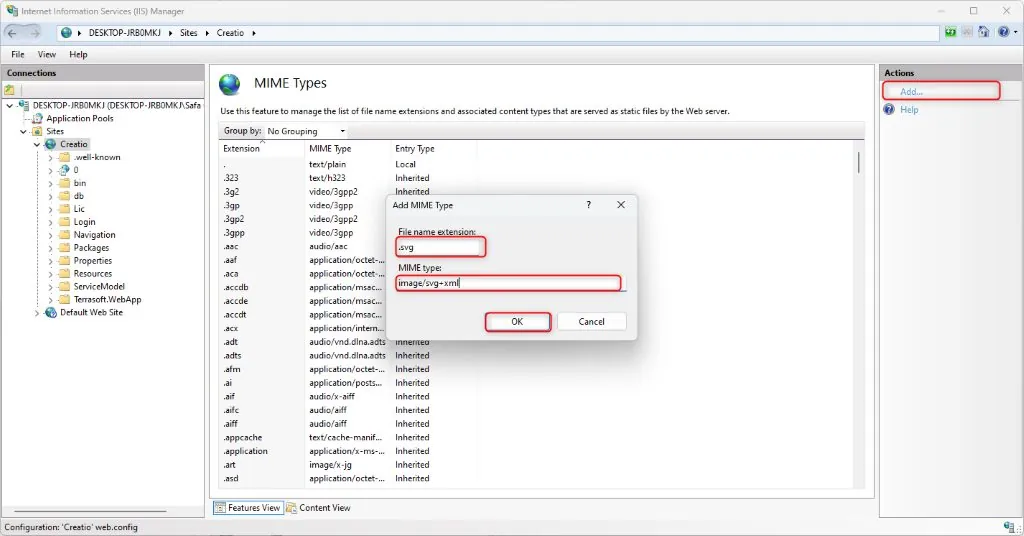
Step 2: Add Missing MIME Types
If the MIME types are not listed, click Add in the Actions panel.
For .svg, add the MIME type image/svg+xml.
For .json, add the MIME type application/json.
4. Restart the Website
After configuring the website, application pool, and MIME types, restart the website to apply the changes:
- In IIS Manager, right-click the website (e.g., “Creatio”) and select Restart.
5. Test the Website
Open a web browser and navigate to the website’s URL (e.g.,
http://localhost:6262).Ensure the Creatio login page appears.
The default username should be Supervisor. Enter Supervisor as the password to log in.
Powershell Script#
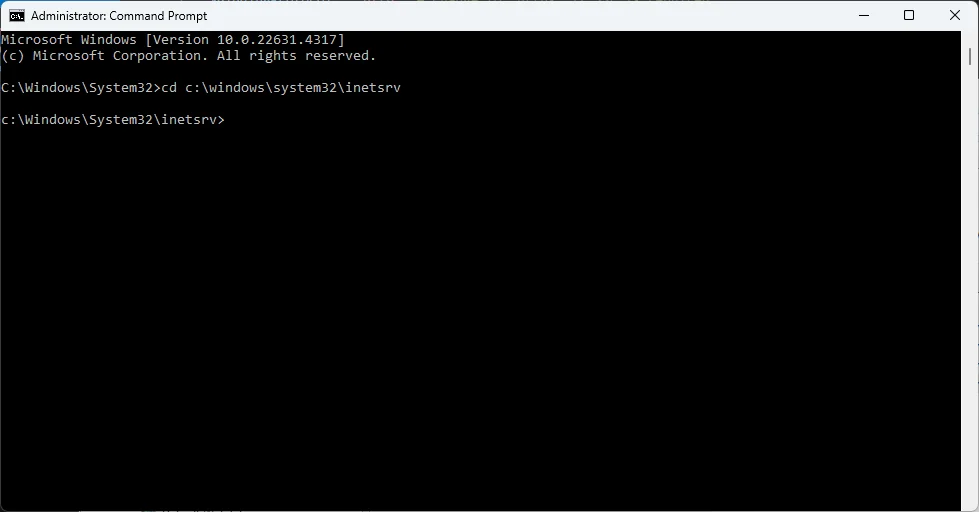
Before start creating the WebSite/AppPool, start the command prompt as administrator. So that you can privilege to execute all the commands. After that access below location in command prompt.
cd c:\Windows\System32\inetsrv
Create Application Pool in IIS:
An application pool is like a container for your web applications in IIS. It keeps applications separate from each other, so one site won’t affect the others. By putting apps with similar settings in the same pool, you make them easier to manage and more stable, while making sure they don’t compete for system resources.
App Pool with Default Settings:
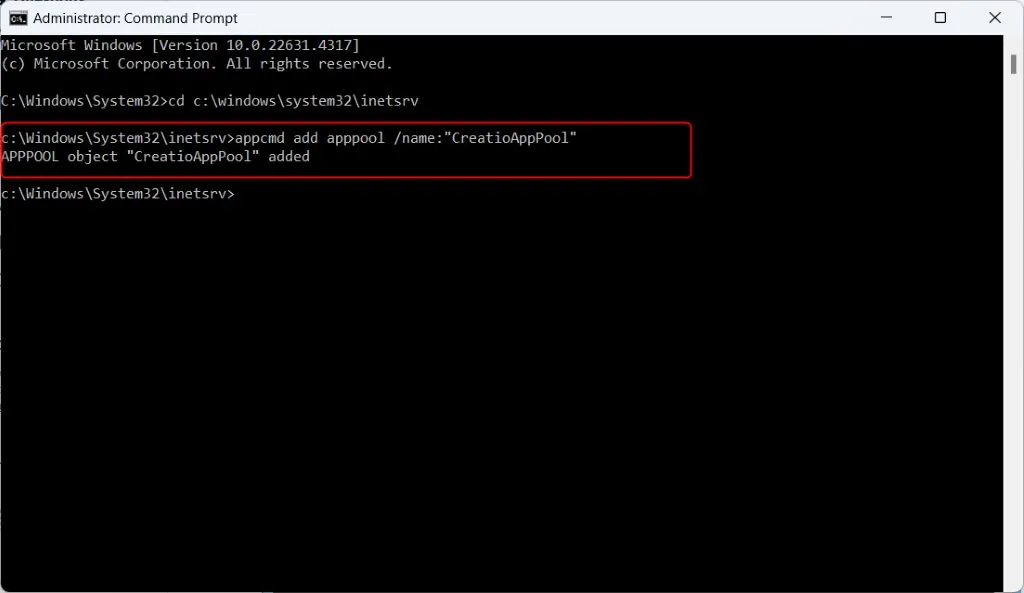
To create an application pool with default IIS settings, run the following command. This will create an App Pool named “CreatioAppPool”.
.\appcmd add apppool /name:"CreatioAppPool"
App Pool with Specific Settings
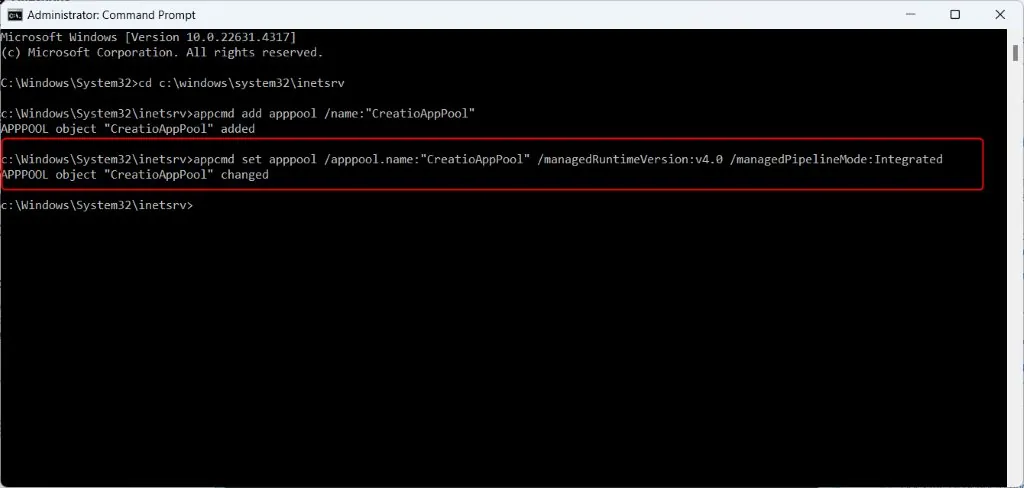
If you want to use different settings for your App Pools, use mention command. Change managedRuntimeVersion as per your requirements v1.0, v1.1, v2.0 or v4.0.
.\appcmd set apppool /apppool.name:"CreatioAppPool" /managedRuntimeVersion:v4.0 /managedPipelineMode:Integrated
Create a Website in IIS:
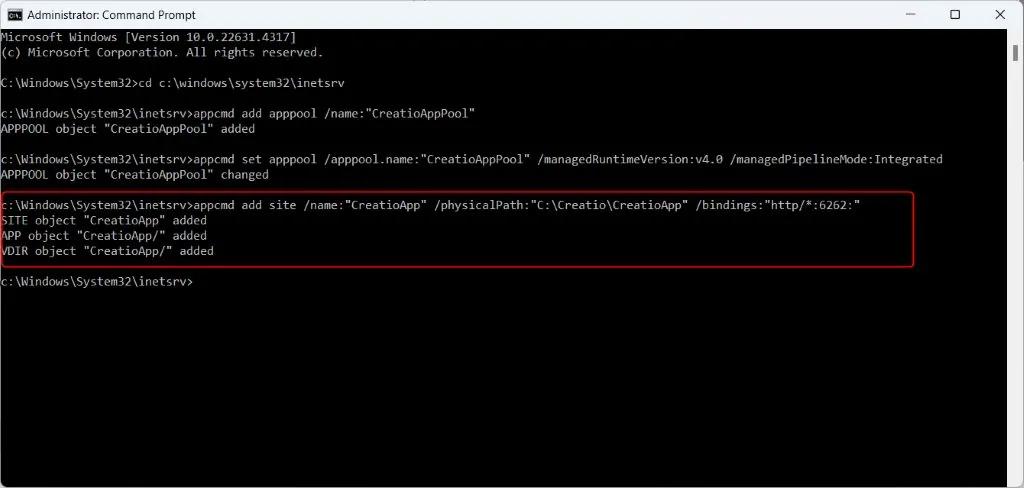
Now, We are going to create a website using the command line. We are creating CreatioApp website with document root “C:\Creatio\CreatioApp\Terrasoft.WebApp”
.\appcmd add site /name:"CreatioApp" /physicalPath:"C:\Creatio\CreatioApp" /bindings:"http/*:6262:"
Create Subdirectory Application:
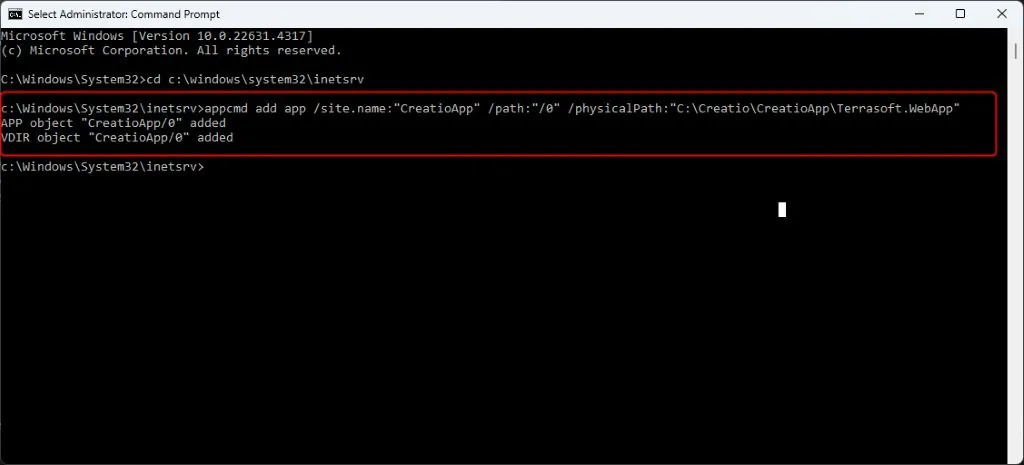
You can also create the subdirectory application to your existing website. In other words, If you want to configure URL then /0 is the subdirectory application. We are creating the document root for the blog is c:\sites\0.
.\appcmd add app /site.name:"CreatioApp" /path:"/0" /physicalPath:"C:\Creatio\CreatioApp\Terrasoft.WebApp"
Assign/Change App Pool to an App:
You can likewise change the Application Pool of any site. Use the following command to change the application pool of the site.
.\appcmd set site /site.name:"CreatioApp" /applicationDefaults.applicationPool:"CreatioAppPool"
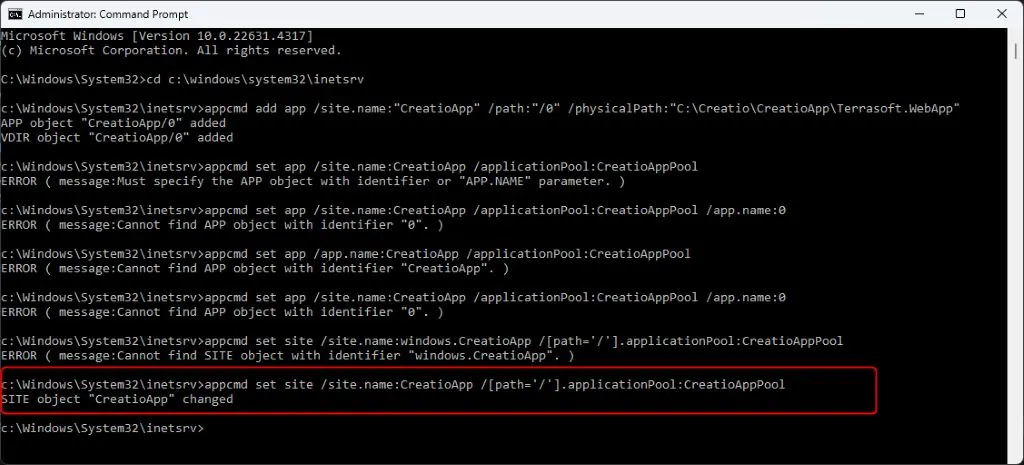
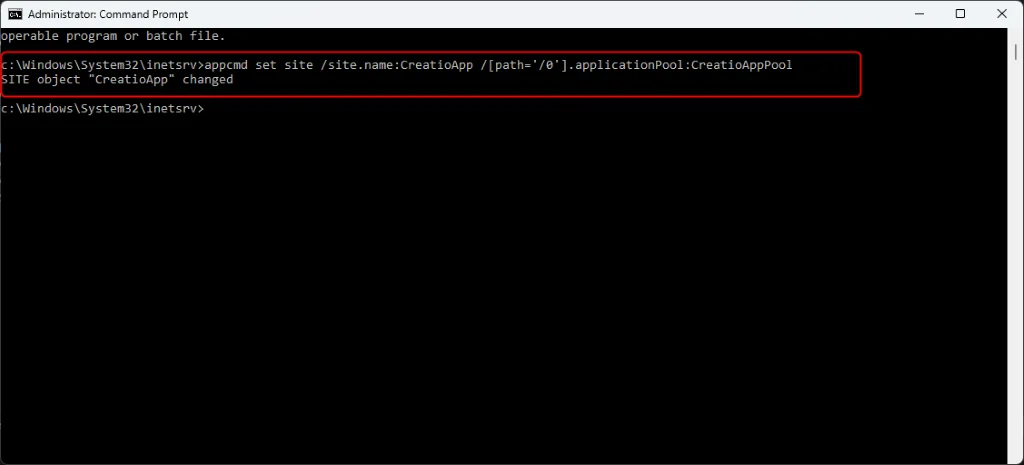
You can also change the Application Pool for a subdirectory URL use the following command.
.\appcmd set app /app.name:"CreatioApp/0" /applicationPool:"CreatioAppPool"
Restore Database Using pgAdmin#
To restore a database in pgAdmin, follow these steps:
1. Open pgAdmin
- Launch pgAdmin and connect to your PostgreSQL server.
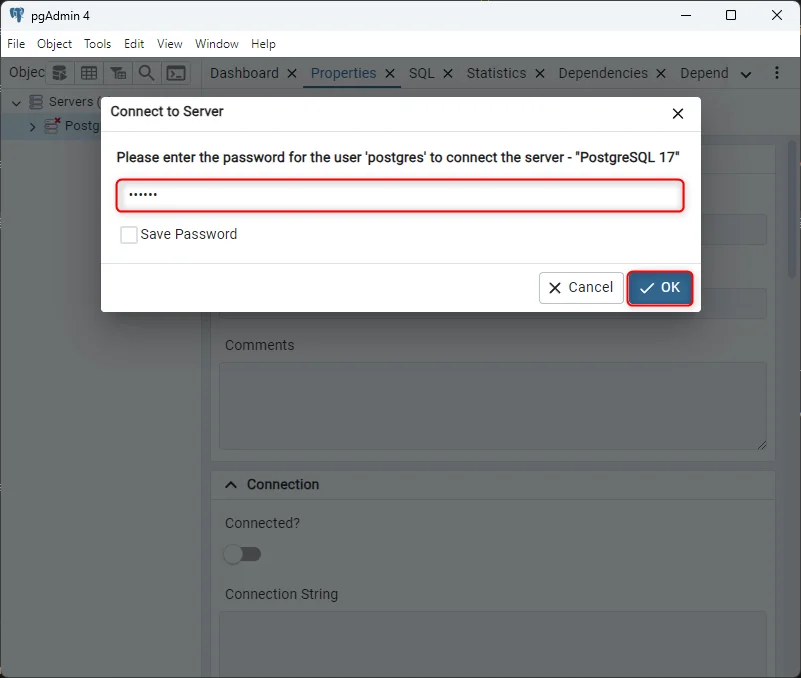
2. Select the Database
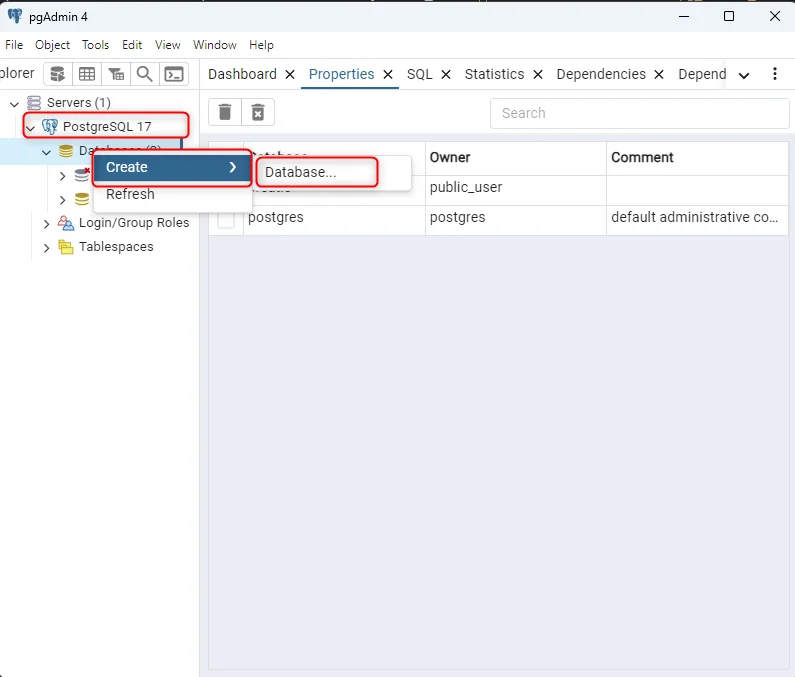
In the Browser pane on the left side, locate the database you want to restore.
If the database doesn’t already exist, you can create it by right-clicking on the “Databases” node and selecting Create > Database….
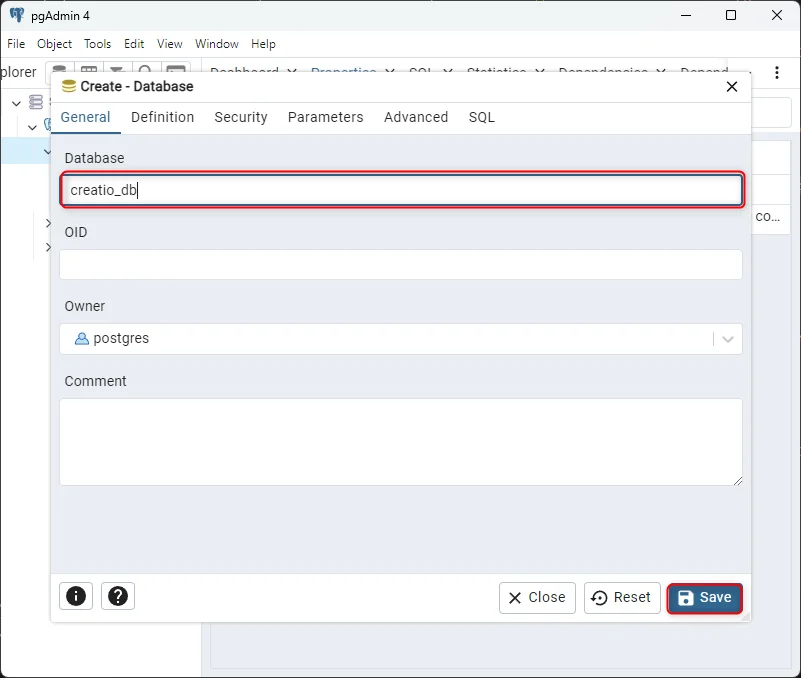
3. Restore the Database
Right-click on the database where you want to restore the data (either an existing one or a new empty one).
Choose Restore… from the context menu.
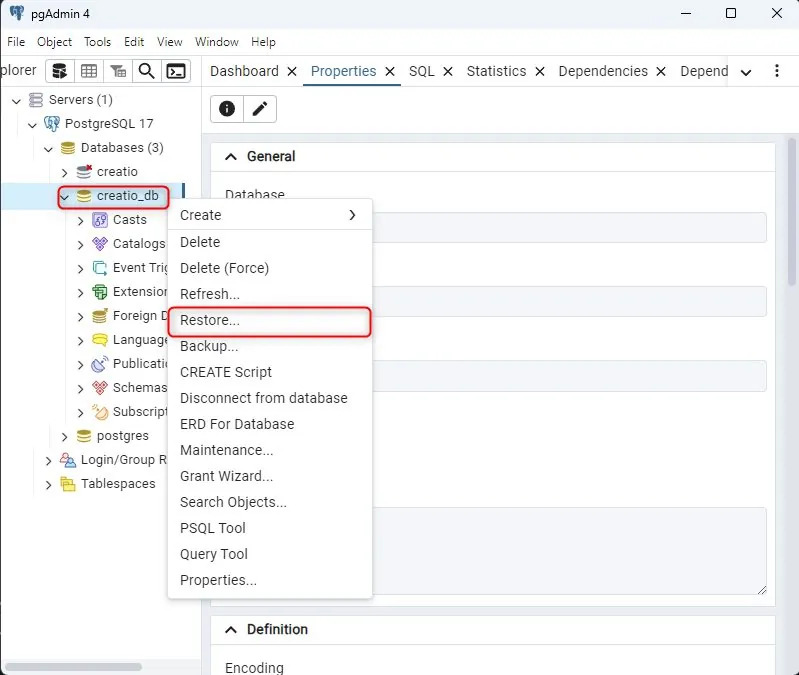
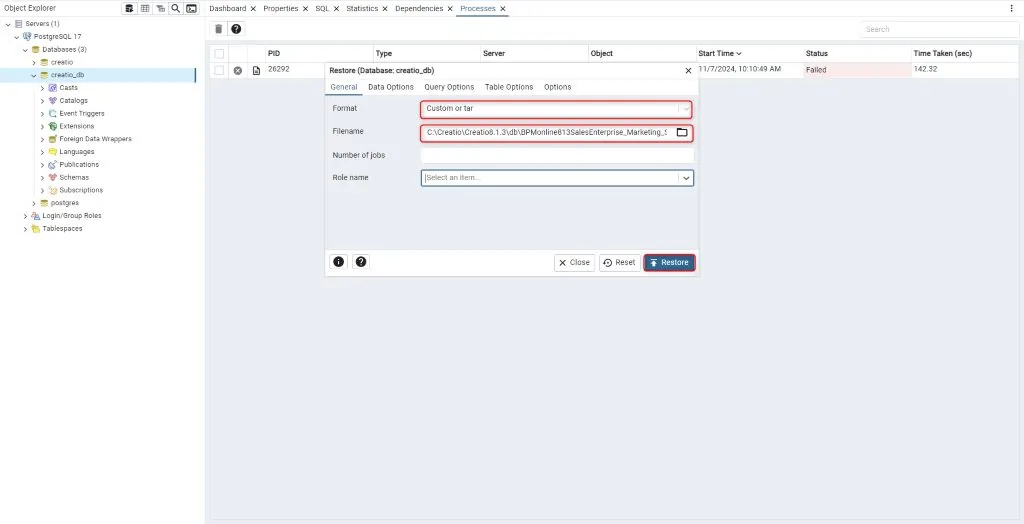
4. Configure the Restore Options
In the Restore Options window:
Format: Choose the format of the backup you are restoring (e.g., Custom, Tar, or Plain).
Select Custom or tar to restore from a custom archive file to create a copy of the backed-up object.
Select Directory to restore from a compressed directory-format archive.
Filename: Browse and select the backup file (it could have a .backup, .tar, .sql, or .gz extension, depending on the format).
Under Restore options, select any additional options (like whether to restore only certain schemas or data).
5.create the role “puser”
To create the user “puser” in pgadmin
Open PGAdmin and connect to the server where you want to create the new user.
In the Object Browser, expand the Server and go to Login/Group Roles tree, and right-click on the folder. Select Create>Login/Group Role option from the context menu.
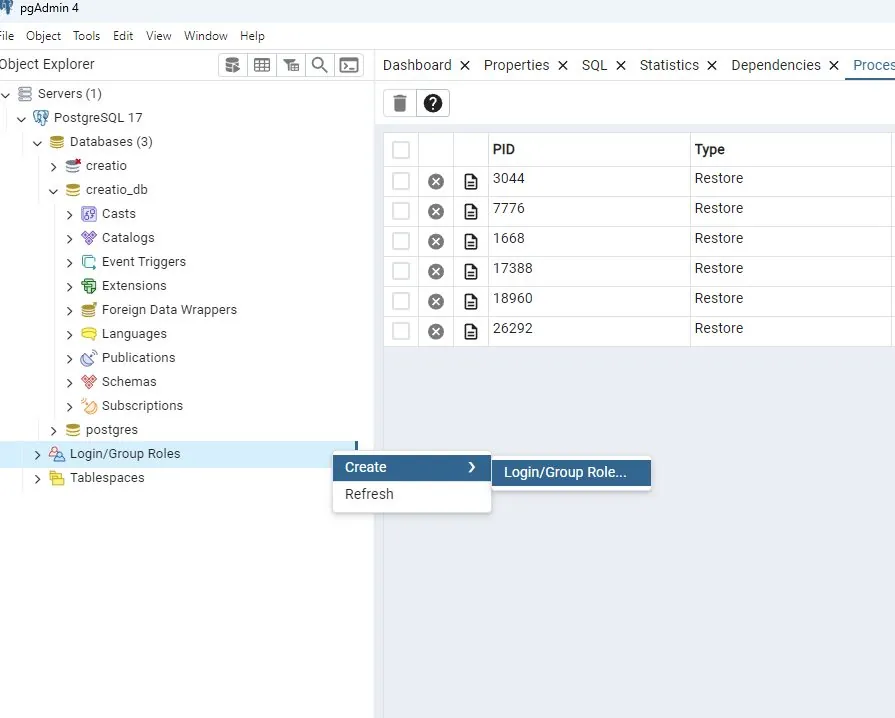
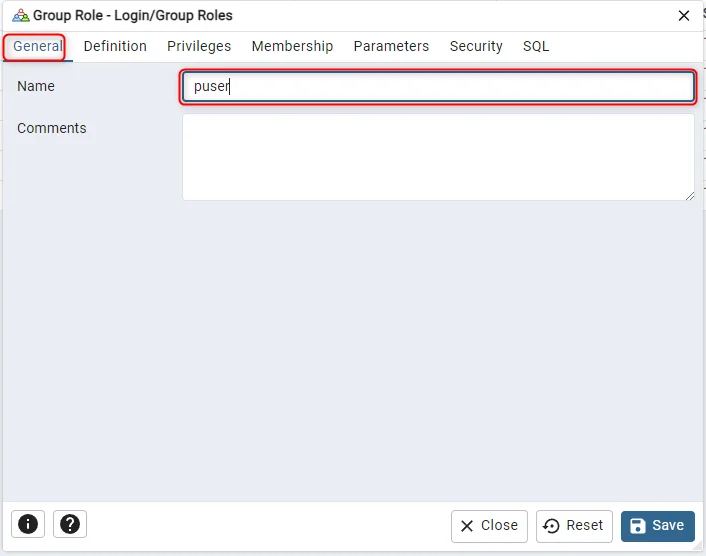
- In the General tab, enter the new user’s name using the Name field. Optionally you can add comments to describe the user.
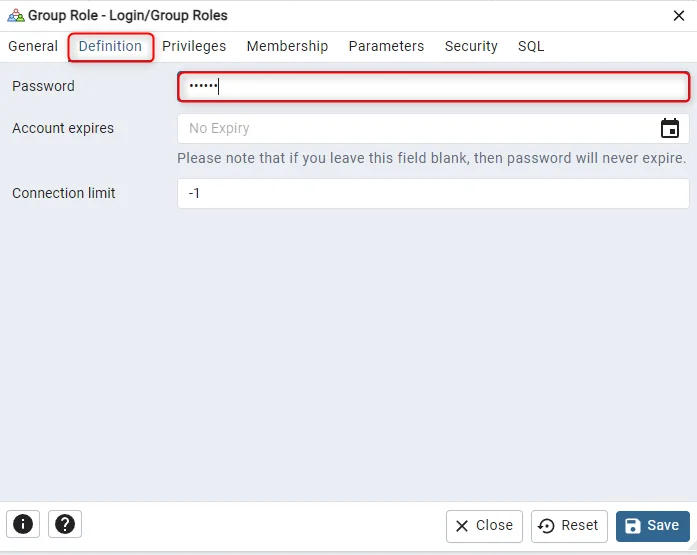
- Next, in the Definition tab, enter the new user’s password in the Password field. Optionally, select the account expiration date to expire the user in a date and the connection limit (by default is -1 which means that there is no limit)
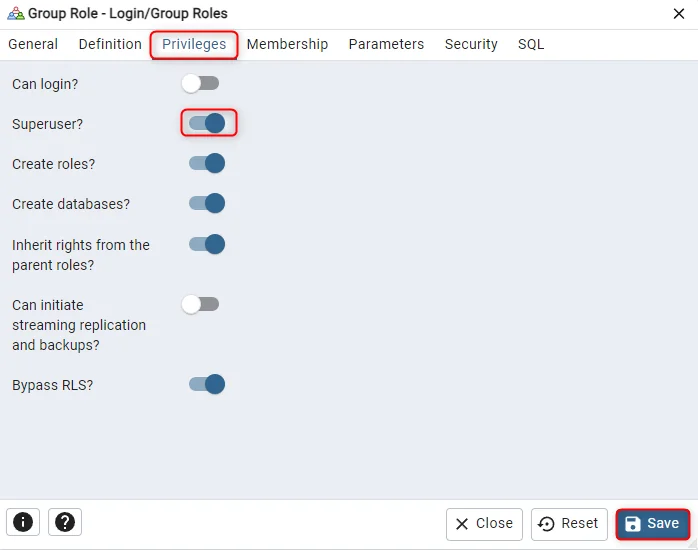
- Also, in the Privileges tab, you can select the privileges you want to grant to the new user. For example, you can provide privileges to log in. To have superuser privileges. The superuser has all the privileges under the server. You can also grant permissions to the user to create roles and create databases. You can also inherit rights from the parent role. You can inherit privileges from the parent or not. Finally, you have the option to start the streaming replication and set the system in the backup mode with the Can initiate streaming replication and backups option.
6. Start the Restore
- Once you’ve configured the options, click Restore to begin the restoration process.
7. Monitor the Process
You can monitor the progress of the restore in the Messages tab at the bottom of the pgAdmin interface.
If the restore is successful, you will see a “Restore completed” message.
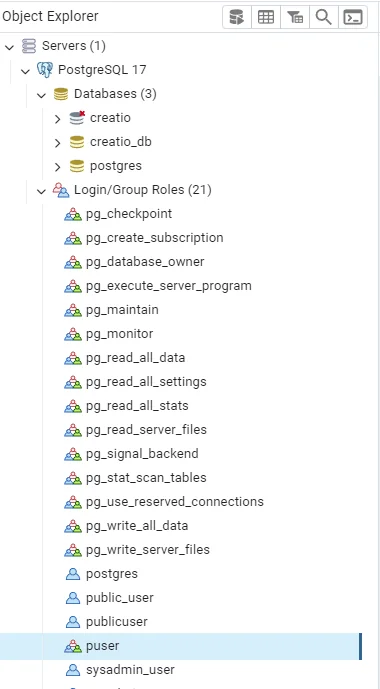
- The process of restoring a PostgreSQL database from a backed-up file has been successfully completed:

Powershell Script#
Step I: Install PostgreSQL (if not already installed)
If you have an existing PostgreSQL server and user roles set up (with both sysadmin and public users), skip to Step II.
- See Install Postgres / PG Admin above.
Note: High-availability PostgreSQL configurations haven’t been tested with Creatio. For details on PostgreSQL clustering, consult the PostgreSQL documentation.
Step II: Create PostgreSQL Users
A fresh PostgreSQL installation does not include the required users for Creatio. You need to create:
Sysadmin User: This user will restore the Creatio database and manage access permissions. Placeholder: sysadmin_user.
Public User: A user with limited permissions for secure database connection. Placeholder: public-user.
To create these users:
Open Command Prompt as an administrator .
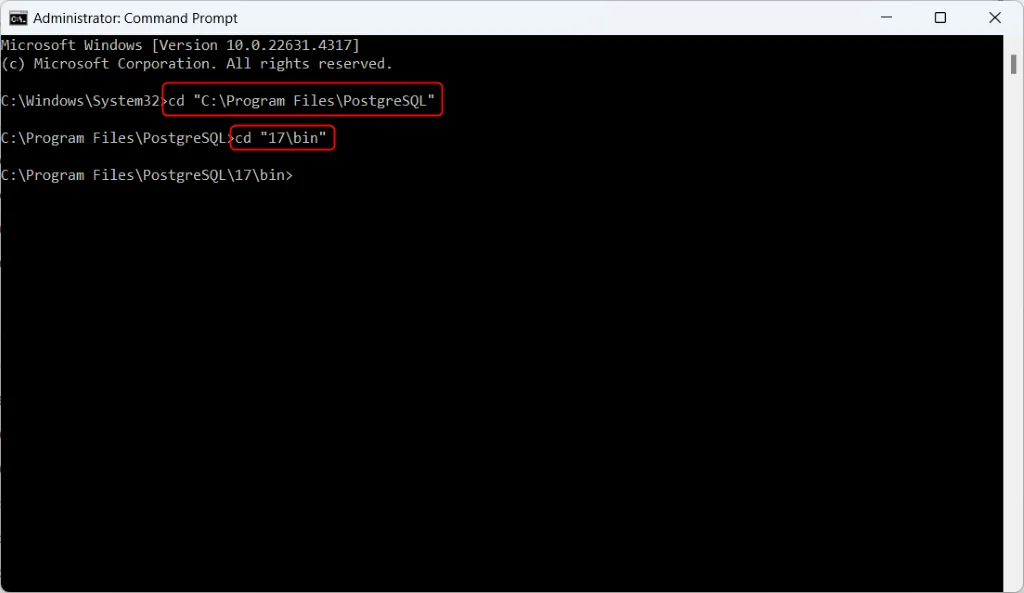
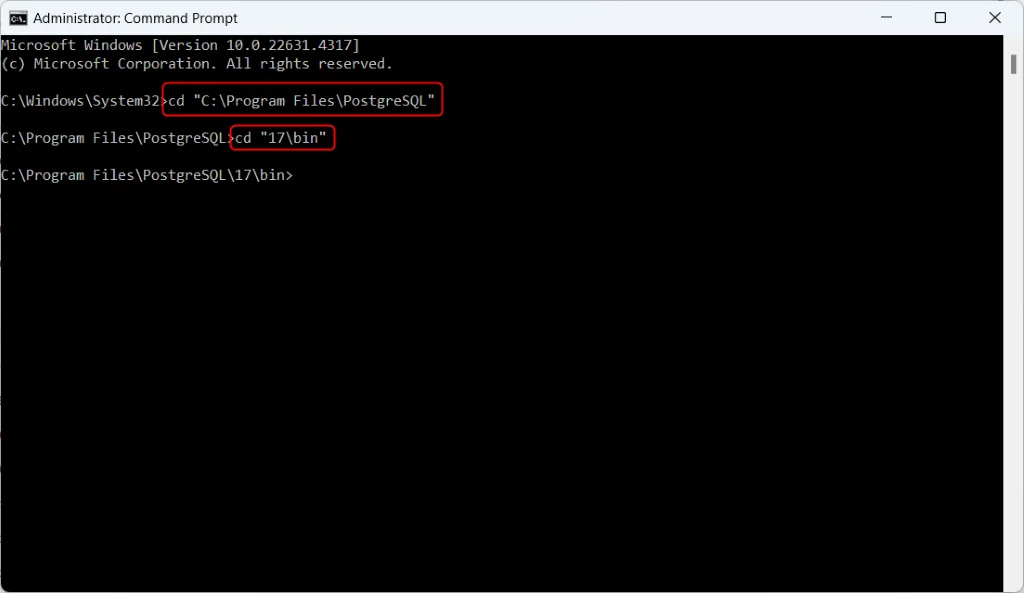
Navigate to PostgreSQL installation folder :
cd "C:\Program Files\PostgreSQL"
\\path\to\PostgreSQL\folder– the path to the PostgreSQL software install folder.
- Navigate to the folder with the Command Line Tools component:
cd "C:\Program Files\PostgreSQL\17\bin"
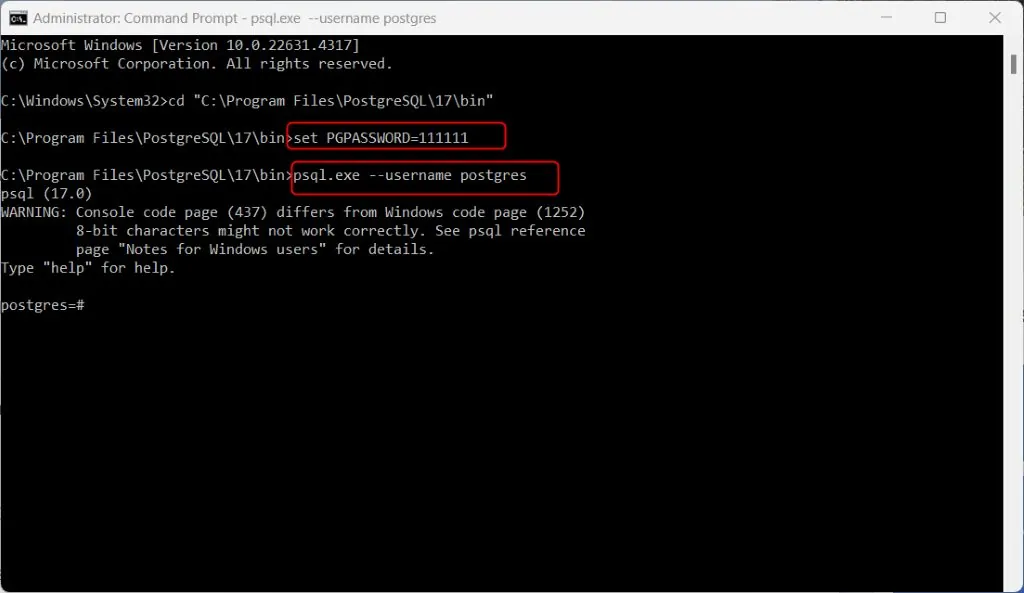
- Enter the DB connection password in the environment variable.
set PGPASSWORD=pg_password
pg_password – password of the postgres user for connecting to the PostgreSQL server
- Run PostgreSQL shell as postgres:
.\psql.exe --username postgres
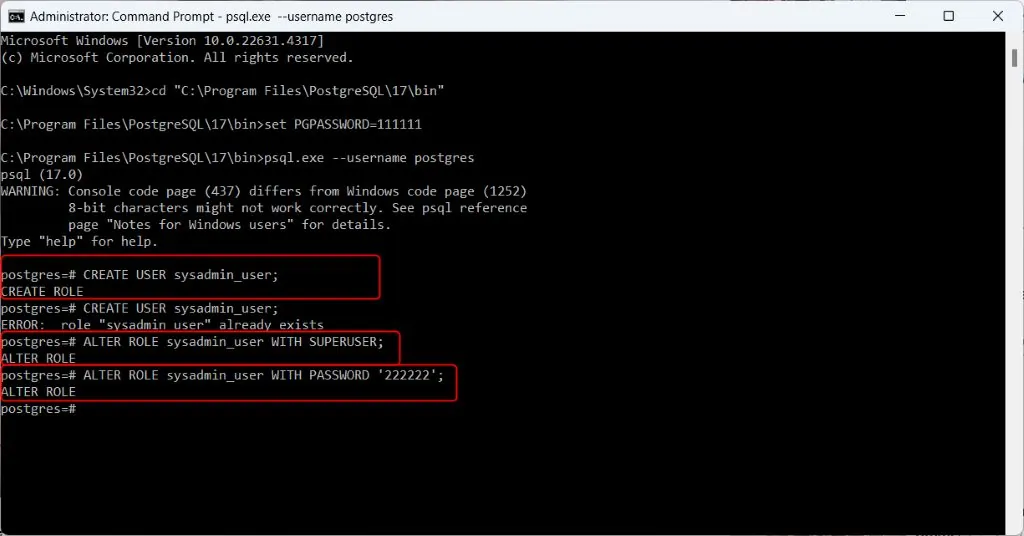
- Create a sysadmin user, e. g sysadmin_user, (The sysadmin will restore the Creatio database from a backup file and assign access permissions.)
CREATE USER sysadmin_user;
- Make sysadmin_user a system administrator:
ALTER ROLE sysadmin_user WITH SUPERUSER;
- Set a password for sysadmin_user , pg_syspassword – sysadmin_user password for connecting to the PostgreSQL server.
ALTER ROLE sysadmin_user WITH PASSWORD 'pg_syspassword';
pg_syspassword – sysadmin user password for connecting to the PostgreSQL server.
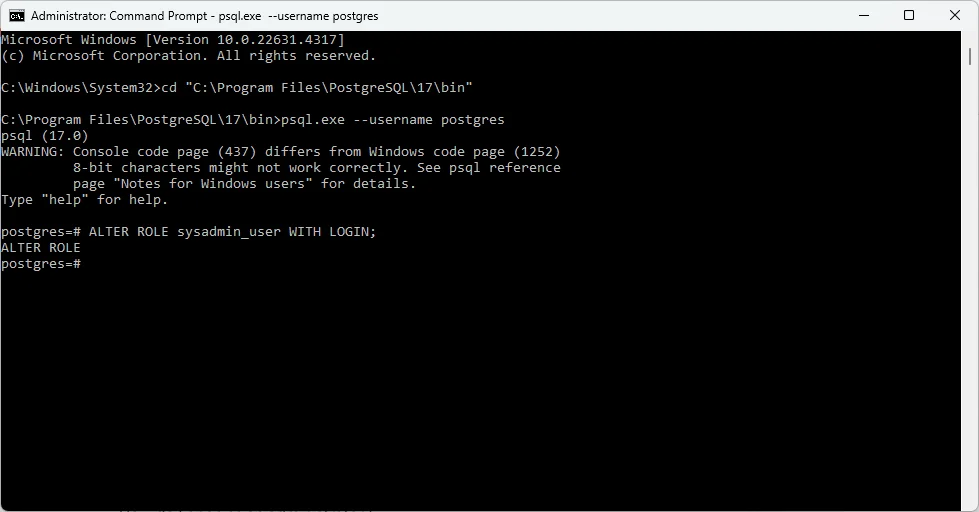
- Allow sysadmin_user to log in:
ALTER ROLE sysadmin_user WITH LOGIN;
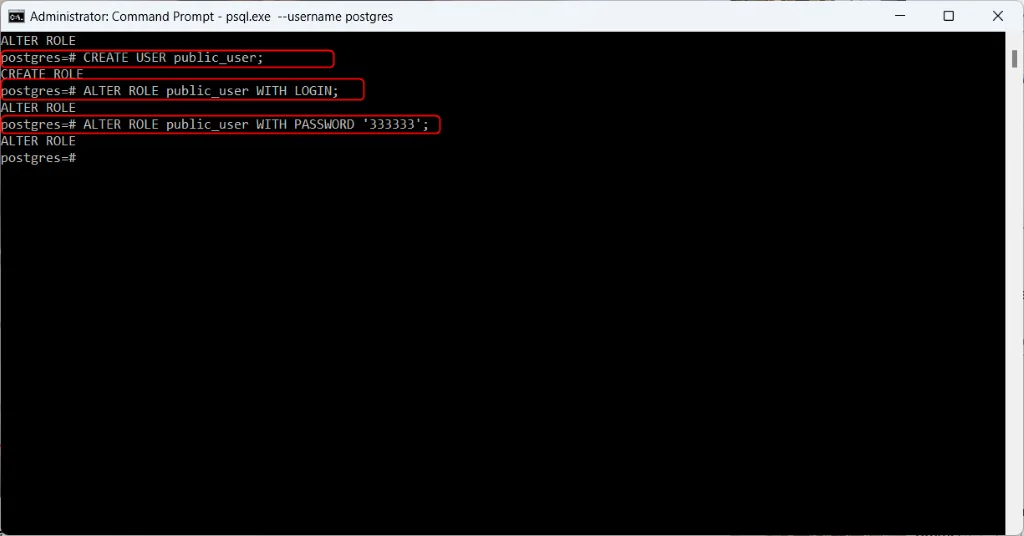
- Create a public user, e. g. public_user:
CREATE USER public_user;
- Set a password for pg_user:
ALTER ROLE public_user WITH PASSWORD 'pg_password';
pg_password – public user password for connecting to the PostgreSQL server.
- Allow pg_user to log in:
ALTER ROLE public_user WITH LOGIN;
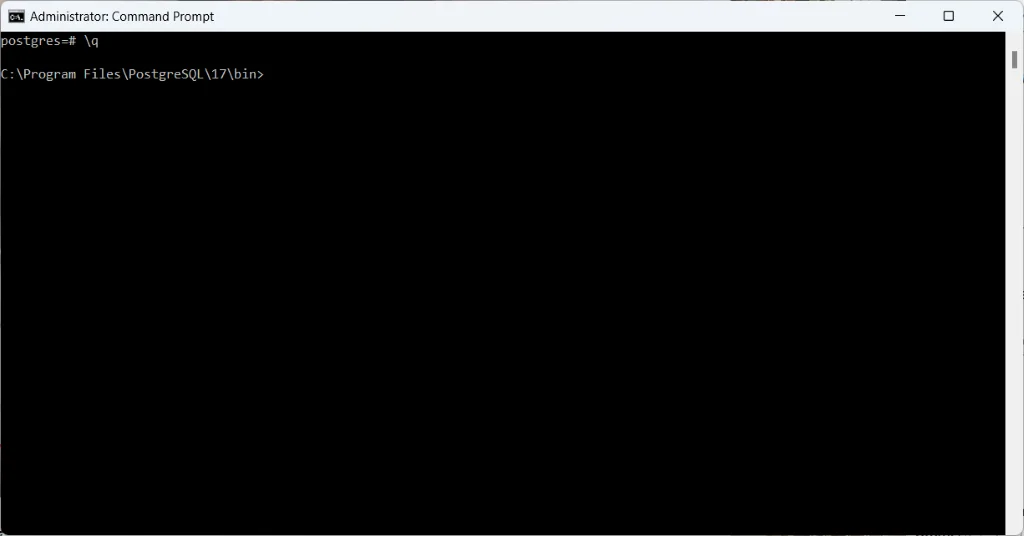
- Exit the PostgreSQL shell:
\q
Step III: Restore the PostgreSQL Database
To restore a PostgreSQL database from a backup file, you will need psql.exe and pg_restore.exe utilities. Both are part of the Command Line Tools PostgreSQL component that comes with the PostgreSQL Server. They are located in the PostgreSQL software install folder.
If you plan to use a remote PostgreSQL database without installing the PostgreSQL Server on your machine, take the following steps:
Get a PostgreSQL binary package. Binary packages are available for download at postgresql.org.
Select the Command Line Tools component during installation. Selecting the other components is optional.
To restore the Creatio database from a backup file:
Open Command Prompt as administrator .
Navigate to the PostgreSQL software install folder with executables:
Navigate to the folder with executables:
- Enter the DB connection password in the environment variable:
set PGPASSWORD=pg_syspassword
- pg_syspassword – sysadmin user password for connecting to the PostgreSQL server.
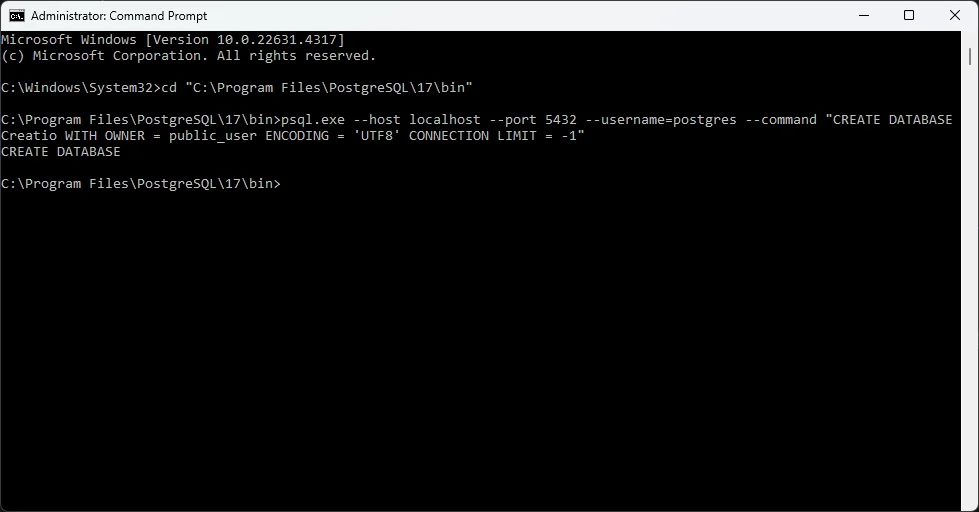
- Create a database where the backup data will be restored.
.\psql.exe --host pg_server_ip --port pg_server_port --username=postgres --command "CREATE DATABASE creatio WITH OWNER = public_user ENCODING = 'UTF8' CONNECTION LIMIT = -1"
pg_server_ip – PostgreSQL server address.
pg_server_port – PostgreSQL server port.
public_user – the application will use this user’s credentials to connect to the database. You can specify any user when creating the database. To change the user data, follow step 10 of this instruction.
- Restore the Creatio database from the backup file:
For Creatio version 7.16.3 or higher:
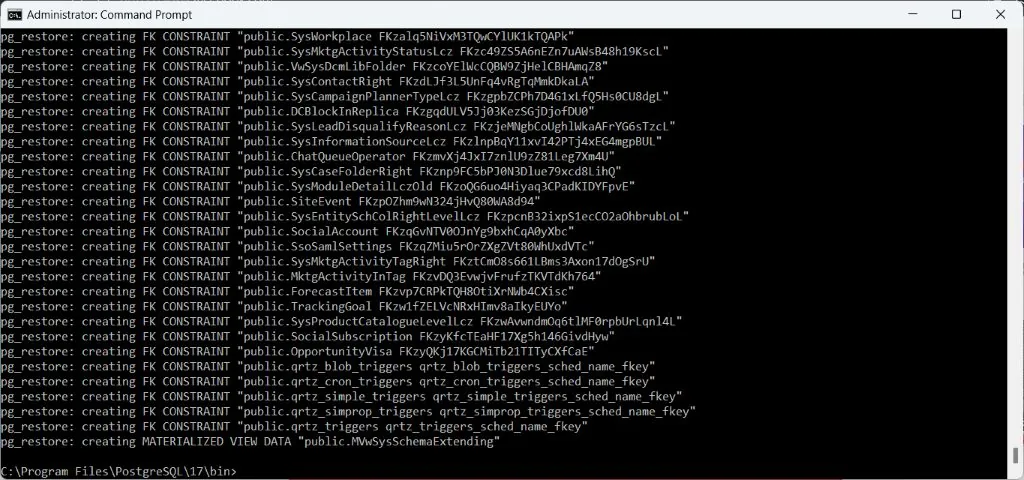
.\pg_restore --host pg_server_ip --port pg_server_port --username=postgres --dbname=creatio --no-owner --no-privileges --verbose "C:\path\to\db.backup"
Example with concrete values:
.\pg_restore --host localhost --port 5432 --username postgres --dbname creatio --no-owner --no-privileges --verbose "C:\Creatio\CreatioApp\db\BPMonline813SalesEnterprise_Marketing_ServiceEnterprise.backup"
pg_server_address – PostgreSQL server address.
pg_server_port – PostgreSQL server port.
pg_sysadmin – user for connecting to the PostgreSQL server. The user must have either superuser (administrator) privileges or sufficient access permissions to run the pg_restore utility.
creatio – name of the PostgreSQL DB to insert backup tables.
Setting Up ConnectionStrings.config for PostgreSQL in Creatio#
The ConnectionStrings.config file in Creatio’s root directory stores essential connection parameters, including database and external services. Follow these steps to configure it for PostgreSQL.
Step 1: Locate the ConnectionStrings.config File
- Navigate to the root directory of your Creatio application, typically found at:
~\WebAppRoot\Creatio
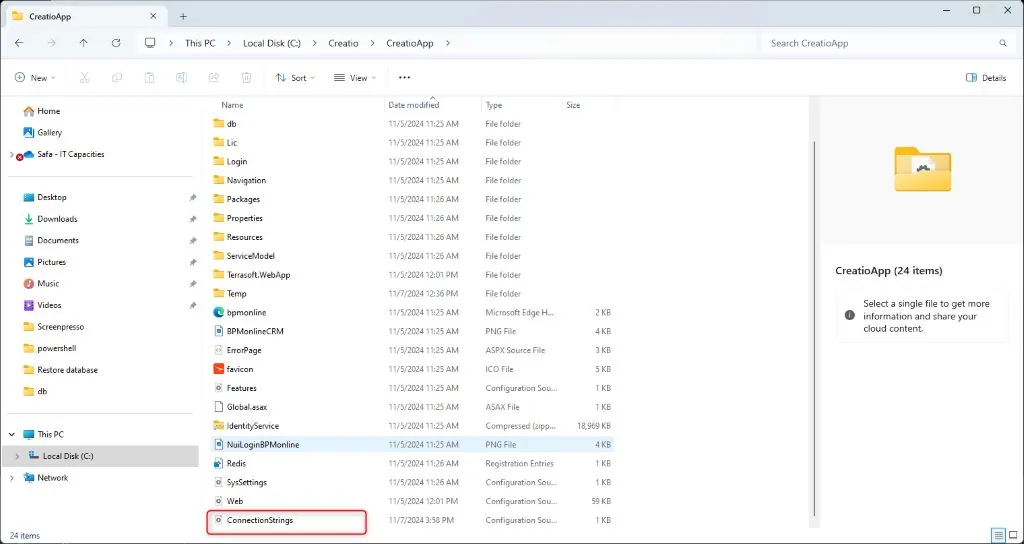
- Open the ConnectionStrings.config file with a text editor.
Step 2: Configure the Connection Parameters
Specify your database and caching server connection details within the
Required Connection Strings
For Creatio to function correctly, specific connection settings are required:
- PostgreSQL Database Configuration (name=“db”):
Defines the parameters for the primary database connection.
<add name="db" connectionString="Server=[Database server name];Port=[Database server port];Database=[Database name];User ID=[PostgreSQL user that will connect to the database];password=[PostgreSQL user password];Timeout=500; CommandTimeout=400;MaxPoolSize=1024;" />
Example with concrete values:
<add name="db" connectionString="Server=localhost;Port=5432;Database=creatio_db;User ID=sysadmin_user;password=222222;Timeout=500; CommandTimeout=400;MaxPoolSize=1024;" />
- Redis Caching Server Configuration (name=“redis”):
Specifies the Redis server used for caching.
<add name="redis" connectionString="host=[Machine name];db=[Redis DB number];port=6379;maxReadPoolSize=10;maxWritePoolSize=500" />
Example with concrete values:
<add name="redis" connectionString="host=localhost;db=2;port=6379" />
Replace placeholders ([Database server name], [Database name], etc.) with actual values for your setup.
Optional ConnectionStrings.config settings
The external service connection parameters are optional. Fill them out only if your Creatio configuration requires it. For example, do that if you want to integrate the version control system.
- tempDirectoryPath is the path to the temporary directory the package installation mechanism requires:
<add name="tempDirectoryPath" connectionString="[Path to the temporary directory the package installation mechanism requires]" />
- sourceControlAuthPath is the path to the authorization data of the built-in client of the SVN version control system (if used): The default value is a temporary directory, which the operating system may clear. If you use a version control system, we recommend specifying the path to a permanent directory in this parameter.
<add name="sourceControlAuthPath" connectionString="[Path to the authorization data of the version storage system (SVN)]" />
Compile & Test#
After installation and configuration, make sure to:
Verify Connectivity: Ensure that the database and web server are properly connected and responsive.
Test Functionality: Log in and check core features such as dashboards, record creation, and email notifications.
To access Creatio through IIS (Internet Information Services), follow these steps:
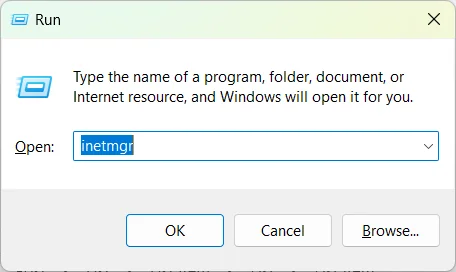
Open IIS:
Press Windows + R to open the Run dialog.
Type
inetmgrand press Enter to open the IIS Manager.
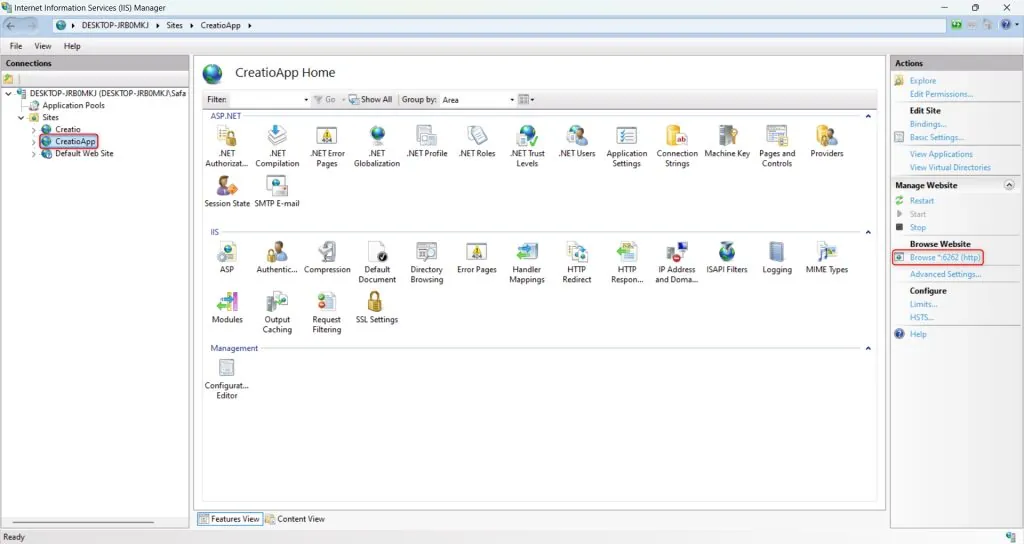
Select the application:
In IIS Manager, expand the node for your server on the left-hand side.
Click on the Sites folder, and then find the Creatio application in the list of websites.
Click on the Creatio site to select it.
Click the URL:
On the right-hand side of IIS Manager, you will see the Browse *:port option.
Click on it to open the Creatio application in your web browser.
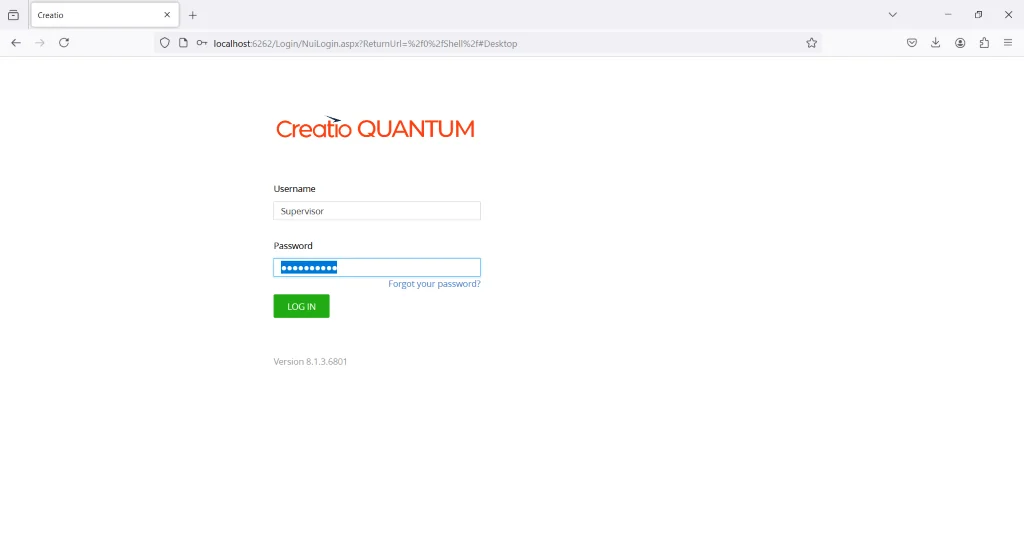
Log in:
Once the Creatio login page loads, enter your username and password.
By default, the administrator login credentials are often
Username: Supervisor
Password: Supervisor (unless changed).
After entering your credentials, click the Login button.
Access the main dashboard:
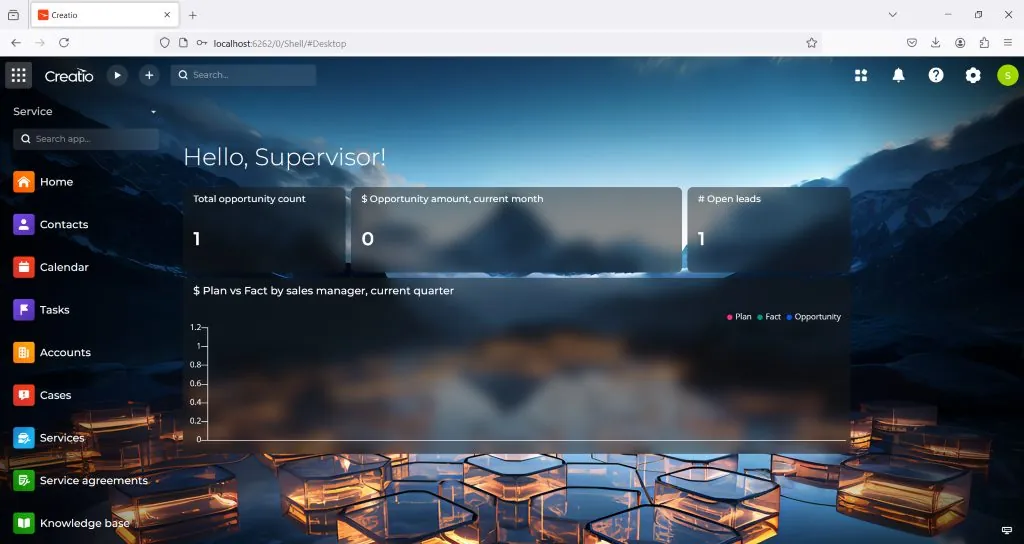
If your login details are correct, you should be logged into the Creatio application.
The main dashboard will be displayed, giving you access to your Creatio features and tools.
If you encounter any issues (like incorrect credentials or access errors), check the server’s IIS settings, ensure the database is correctly connected, and verify that the login details have not been changed from the default.
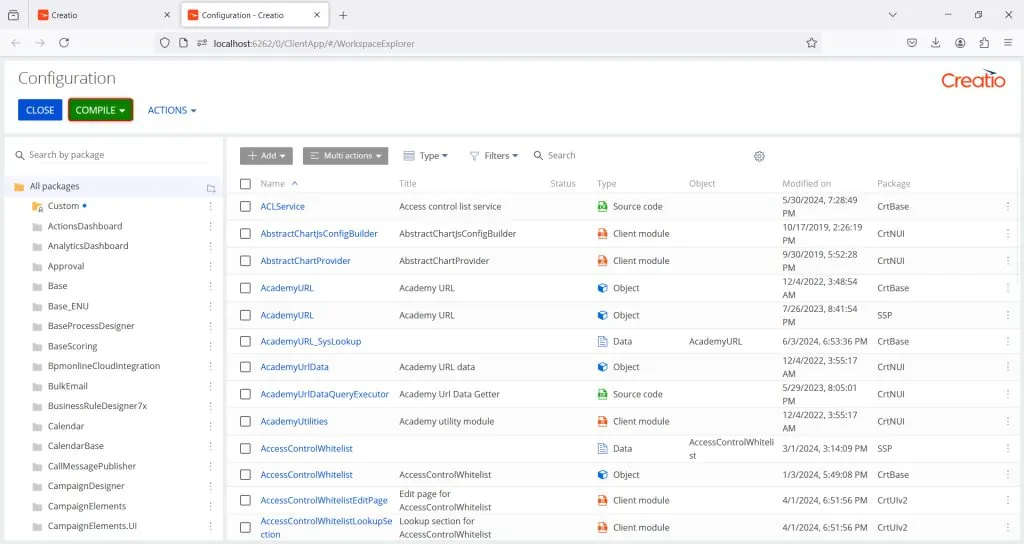
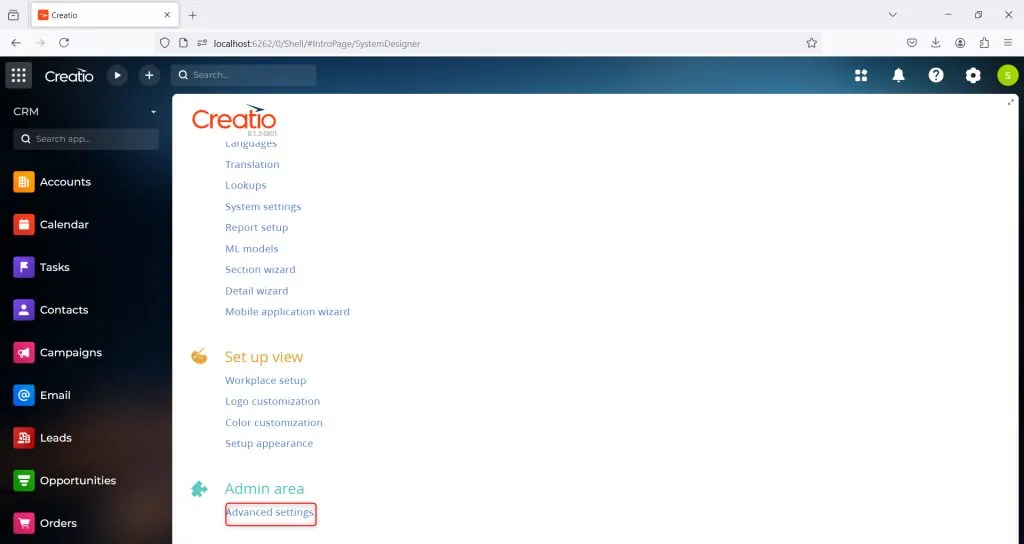
- Compile Environment
Navigate to the System Designer:
Click on the gear icon in the top-right corner.
Choose System Designer.
Select Compilation:
In the System Designer, find the “Compile” option.
This will recompile all configuration schemas.
Monitor Progress:
The system will show the progress of the compilation.
Once completed, you’ll get a notification indicating success or failure.
Conclusion#
By following these steps, you’ve successfully set up your local Creatio instance, giving you a powerful environment to develop, test, and refine your applications. With .NET, Clio, PostgreSQL, and IIS configured, and your database restored and connected, your system is ready for productive use. Regular testing and maintenance of this setup will ensure optimal performance, making your local instance a reliable tool in your development workflow.
FAQ: Local Creatio Environment Setup#
Can I use Docker instead of IIS?#
Creatio does not officially provide a full Docker runtime for production-like environments; IIS + Windows remains the supported path for full feature parity.
PostgreSQL vs MS SQL: which should I choose locally?#
PostgreSQL is lighter to provision and is widely used in modern Creatio deployments; pick MS SQL only if you must mirror a production constraint.
How much RAM do I need?#
For smooth local development: minimum 16 GB RAM (8 GB is possible but build/compile operations will be slower).
Why are builds slow?#
Common causes: antivirus scanning Terrasoft.WebApp, missing build cache, or running debug compilation every time. Exclude the working directory and enable incremental compilation.
Can I share my local package with another developer?#
Yes. Export your custom package via Clio and commit to VCS; teammates import and recompile.
Setting up Creatio for a real client?
Thirty minutes with Mohamed, who founded the company and still runs these calls himself. He will sketch your situation and tell you the cleanest path, including the times when that path is not us.